Automated BIM model checking means software, not a person, checks each model element against the agreed requirements every time a new model version arrives. In Plannerly you define the requirements once, link the model elements to them, and the Verify module shows which elements pass, which need work and which properties are missing.
In architecture, engineering and construction (AEC), checking models against the agreed requirements by hand is slow, and it's the first job to slip when deadlines bite. We built Plannerly so each team can check its own deliverables before it sends them to the receiving party.
BIM checking demo
Visualizing Model Quality
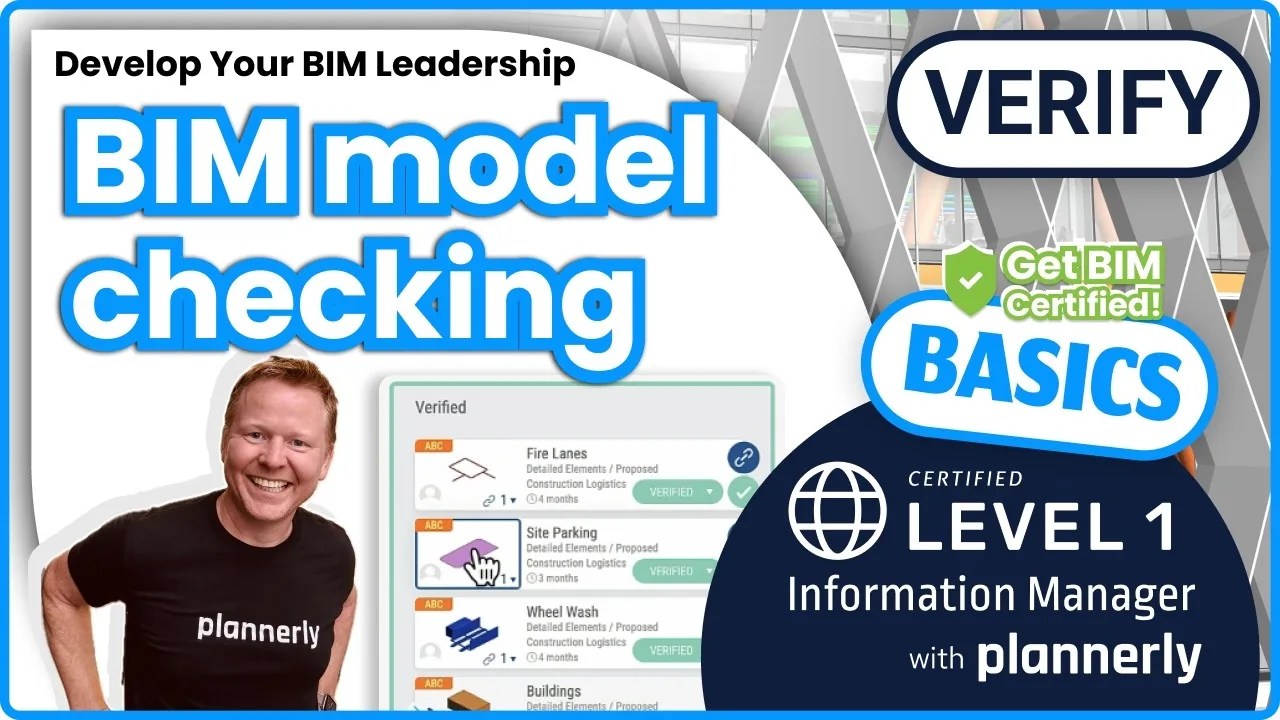
One of Plannerly's key features is seeing the quality of a model at a glance. With a click, you move between requirements and see whether the model meets each one.
On the left of the screen is a breakdown of the model's components and their compliance status.

For example, you can see the number of ceilings and quickly tell how many meet the requirements (green) and how many need work (orange).

If a property is missing from an element altogether, it is highlighted in red. So it's easy to understand the quality of the models being delivered. The free lesson 3D model navigation shows how to find your way around.
A Holistic Approach: Defining Scope and Purpose
Before checking anything, be clear why the models are being created and what they will be used for.
At Plannerly, we start by defining the project's scope and its modelling requirements. That first step sets the foundation for all the model checking that follows.
In the scope, teams set out the intended uses, assign responsibility for each model component, and decide the geometry and information each model must include.

A clear scope keeps every stakeholder aligned and gives the model checks a clear framework. The free lesson Visualising BIM, LOD and information requirements shows it in action.
Granular Requirements and Expected Values
To make checking simple, you define detailed requirements for each model component and property: a Boolean value, a number (with minimum and maximum), a unit of measurement, or a choice from a predefined list.
With the expected values and limits set for each property, teams know the models will meet the agreed standards and contractual obligations. Precise requirements leave no room for ambiguity and make checking quicker. If a requirement names a property set, the property must sit in that set to pass - how property sets are checked.
Translation to Verify Module
Once the scope and requirements are defined, Plannerly turns each requirement cell into a task automatically. The tasks appear as cards in the Verify module, which makes model checking simpler still.
In Verify, you review and manage the model checking tasks. Each card represents a cell, so it's easy to track progress against the agreed requirements. See the free lessons Model checking intro and Using the Kanban board for updates.

Because the scope and Verify are connected, nothing is retyped between them.
Linking Model Components to Requirements
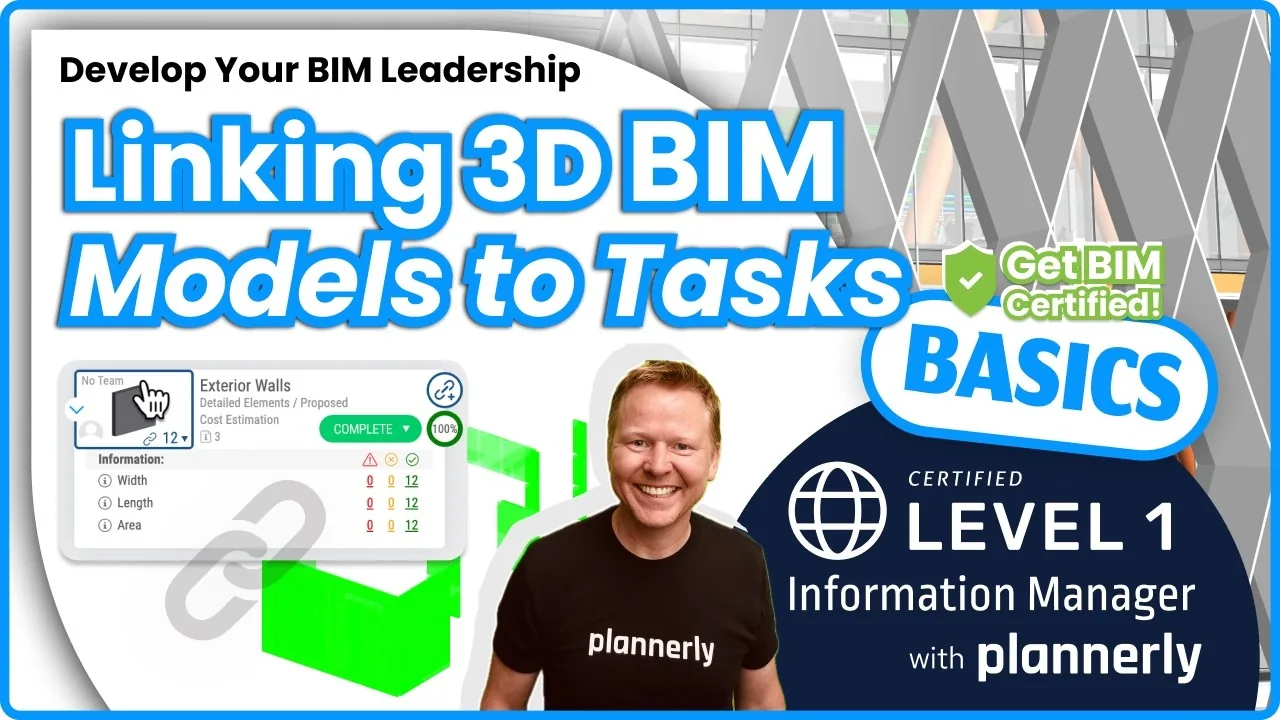
Next, connect the model components to the requirements. A simple rule at the model level says which property of the model carries the information that links an element to a task. For example, the task name (such as "ceilings") can be entered in a chosen property of the model, so the link is made automatically.

Other properties, such as codes from classification systems like Uniclass or Uniformat, can build more selective rules, so you can tailor the linking to your project. The free lesson Linking models for auto-checking shows how, and this help article explains what to check when a parameter won't link.
Advanced Rule Creation at the Task Level
Sometimes you need more advanced, selective rules.
So Plannerly lets you create task-level rules, either alongside the model rules or on their own, to set unique criteria for checking particular elements or groups of elements.
For instance, you can write a rule that checks red doors on the second floor against the requirements in your BIM execution plan.

These rules give you finer control, so the model checks match your project requirements exactly.
Unattended checking: new versions, dashboards and reports
Once the rules are set, nobody has to press a button: each model version is checked automatically and the dashboard charts update automatically, with a PDF report that can go out every week. Working in Autodesk Construction Cloud or BIM 360? Connect the hub once - see Connecting to ACC and other CDEs. Processing runs in the background (how long it takes). Download the free slides on automated model checking dashboards (PDF) (opens in a new tab).
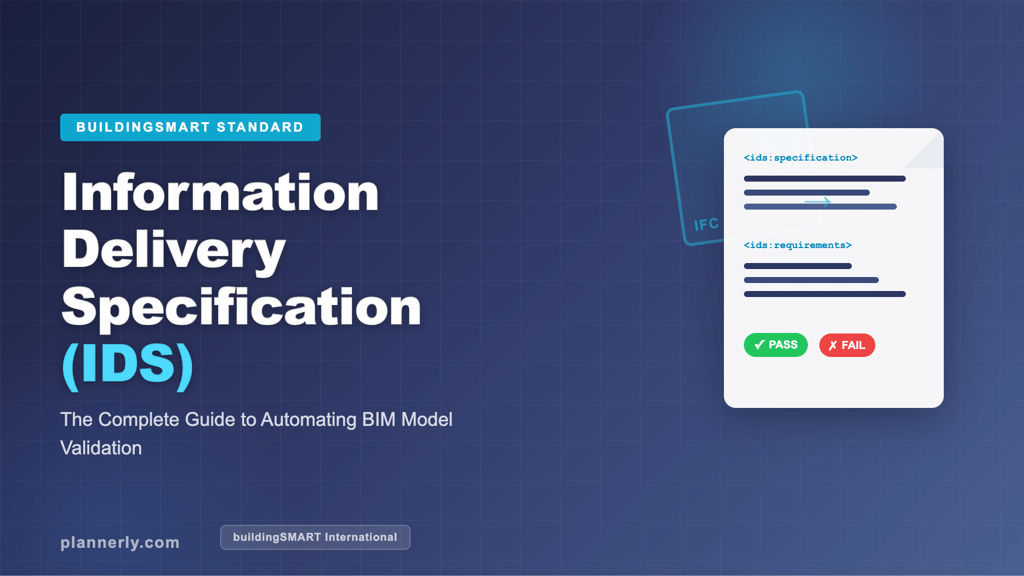
Want authors to check before they submit? Export the same requirements as an IDS file - see the complete guide to IDS and how to create an IDS XML file.
Join Us!
Automation does the checking; autonomy means each team checks its own work before it sends it. Together they make model checking simple.
That saves time and keeps models compliant. For the whole route, see model checking with IDS, or see plannerly.com/pricing and join Plannerly free.
Other interesting reads: my top 10 best BIM software programs, BIM quality control software: 3 simple ideas and 10 example BIM goals. You'll find more on the Plannerly BIM blog and from five BIM bloggers I follow.