Episode 4 · Replay
Surviving the seven CDEs
Most projects run several CDEs, and someone ends up moving files between them by hand. See how to put your plan in the middle, so files get sent out, brought in and passed on by themselves - with the slides and a one-page handout.
Keep your own CDE and stop asking who sent what. See an approved document land in your record by itself, and delivered files show up in the plan without a chase.
Stop downloading files from one system to upload them to another. See an approved drawing reach you where you already work, with the review kept in the plan.
Keep your own folders. See how a file dropped in your team's Dropbox fills its request in the plan, with nothing new for the team to learn.
A repeatable way to keep every team's CDE in step with one plan, each automation set up once and left to run.
Why one source of truth turns into several on real projects, and what keeping them in step looks like, with slides you can use in class.
Episode 4 - aired Thursday 5 November 2026
Import Word, PDF, Excel, and more.





One visual plan
Every line owned and agreed
- ARArchitecture
- STStructure
- MEMEP
Models checked automatically
PassCheckFail
Charts that update themselves







CDE Connect keeps every system in sync
How to survive as a BIM Manager · Episode 4
Surviving the seven CDEs
Seven CDEs. One plan. Most projects run more than one common data environment, so the single source of truth quietly becomes several and you spend your week re-uploading. How to keep every CDE in step with the agreed plan, so delivered files check themselves off and the dashboards move on their own.
Chapters
- Seven CDEs. One plan.00:00
- What if every CDE just kept up?00:25
- What is a CDE, and how many is your project using?01:41
- The ISO 19650 idea: one source of truth02:55
- Same file, seven places: which one is the latest?03:24
- The eighth CDE: your desktop03:53
- So you become the courier04:19
- Where most project files end up05:17
- Three ways: one CDE for everyone, manage the gaps, or automate05:55
- Put your plan in the middle07:13
- What if your BEP filed itself?08:15
- Demo 1: Auto-Publish - approved here, filed there09:44
- Connect the client's SharePoint and set the condition12:21
- Create the combined document13:56
- Request signatures and sign15:30
- Approved, and it files itself in SharePoint16:46
- Demo 2: Auto-Collect - delivered there, filled here18:18
- Episode 1's MIDP: the files we're waiting for19:32
- Link the design team's Dropbox21:34
- Files land, requests fill, charts move23:06
- Reports that send themselves24:25
- Automatic file naming27:18
- Demo 3: Auto-Route - reviewed here, passed on28:23
- Suitability as the quality gate29:24
- Set S4 and it goes to Autodesk Forma31:34
- SmartFolders: see them all in one place32:28
- Your CDE Survival Kit, and what's next34:30
- The dashboards you can build35:24
- Recap: publish, collect, connect37:57
- Free training, and see you on 19 Nov38:24
CDE Survival Kit: the starter project, the slides and the handout
Everything from Episode 4: a starter project with its file requests ready to fill, all 25 slides, and the CDE Connect handout with the three automations on one page.
- 1 starter project
- 2 PDFs
- Free
CDE starter project
A project with task teams, milestones and named file requests in Scope, ready to connect to your CDE from File Manager.
The slides
Click through the slides
25 slides from the episode. Use the arrows, swipe, or download the PDF.


Read all the slide text
Slide 1: Surviving the seven CDEs
How to survive as a BIM Manager - Episode 4.
Surviving the seven CDEs. Seven CDEs. One plan.
Auto-Publish: send it out. Auto-Collect: bring it in. Auto-Route: pass it on.
Autodesk, Procore, SharePoint, Dropbox, Box, Egnyte, ProjectWise and more.
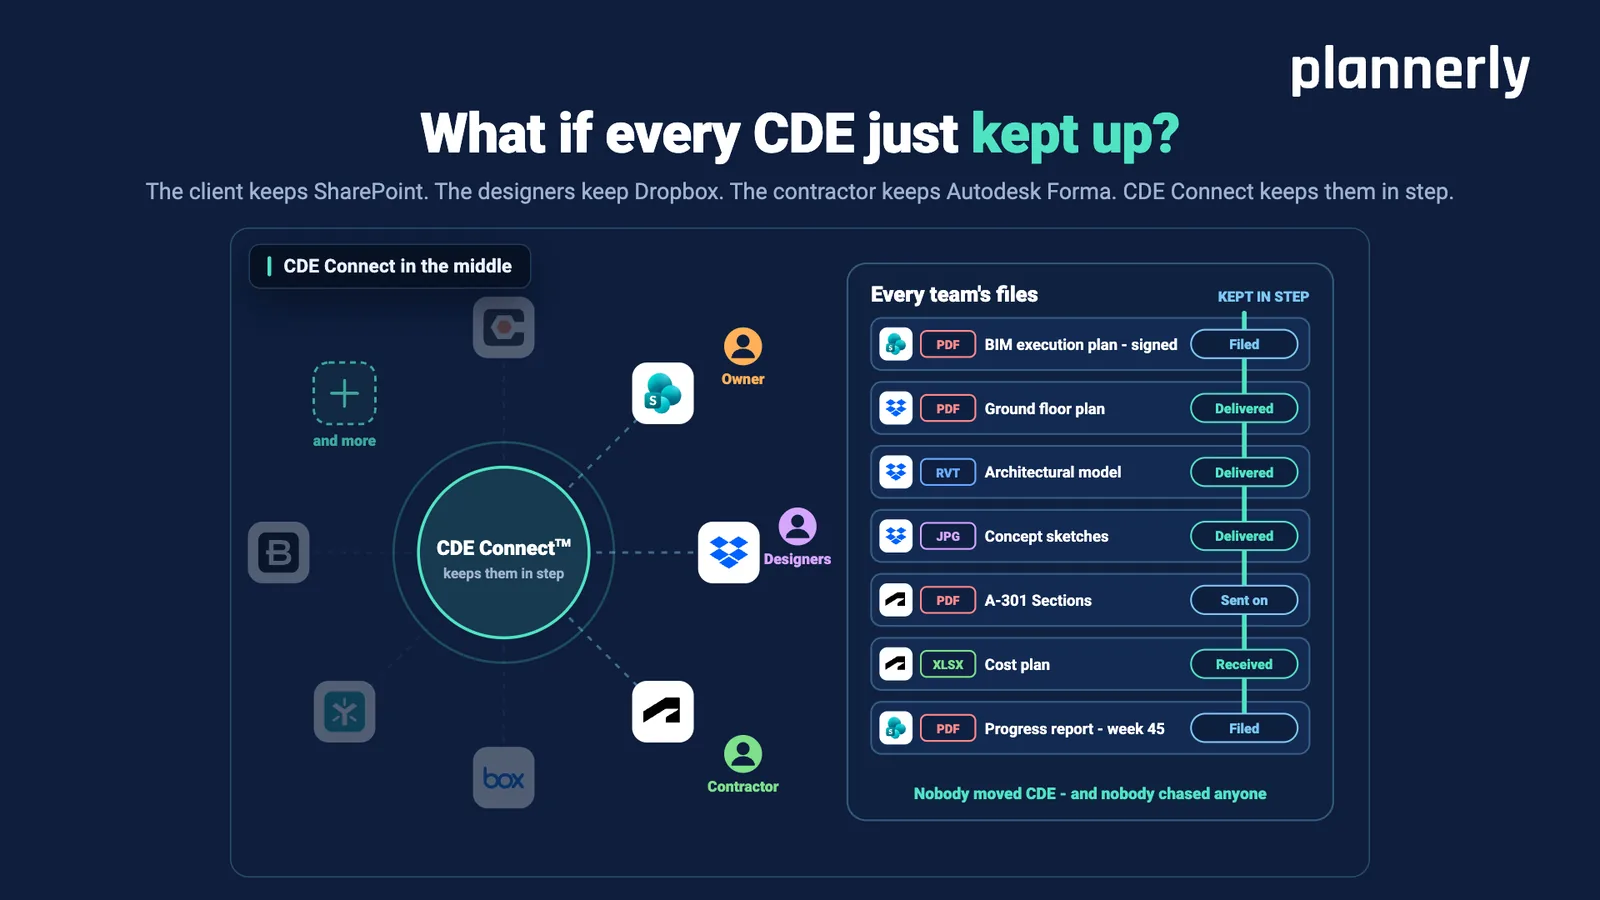
Slide 2: What if every CDE just kept up?
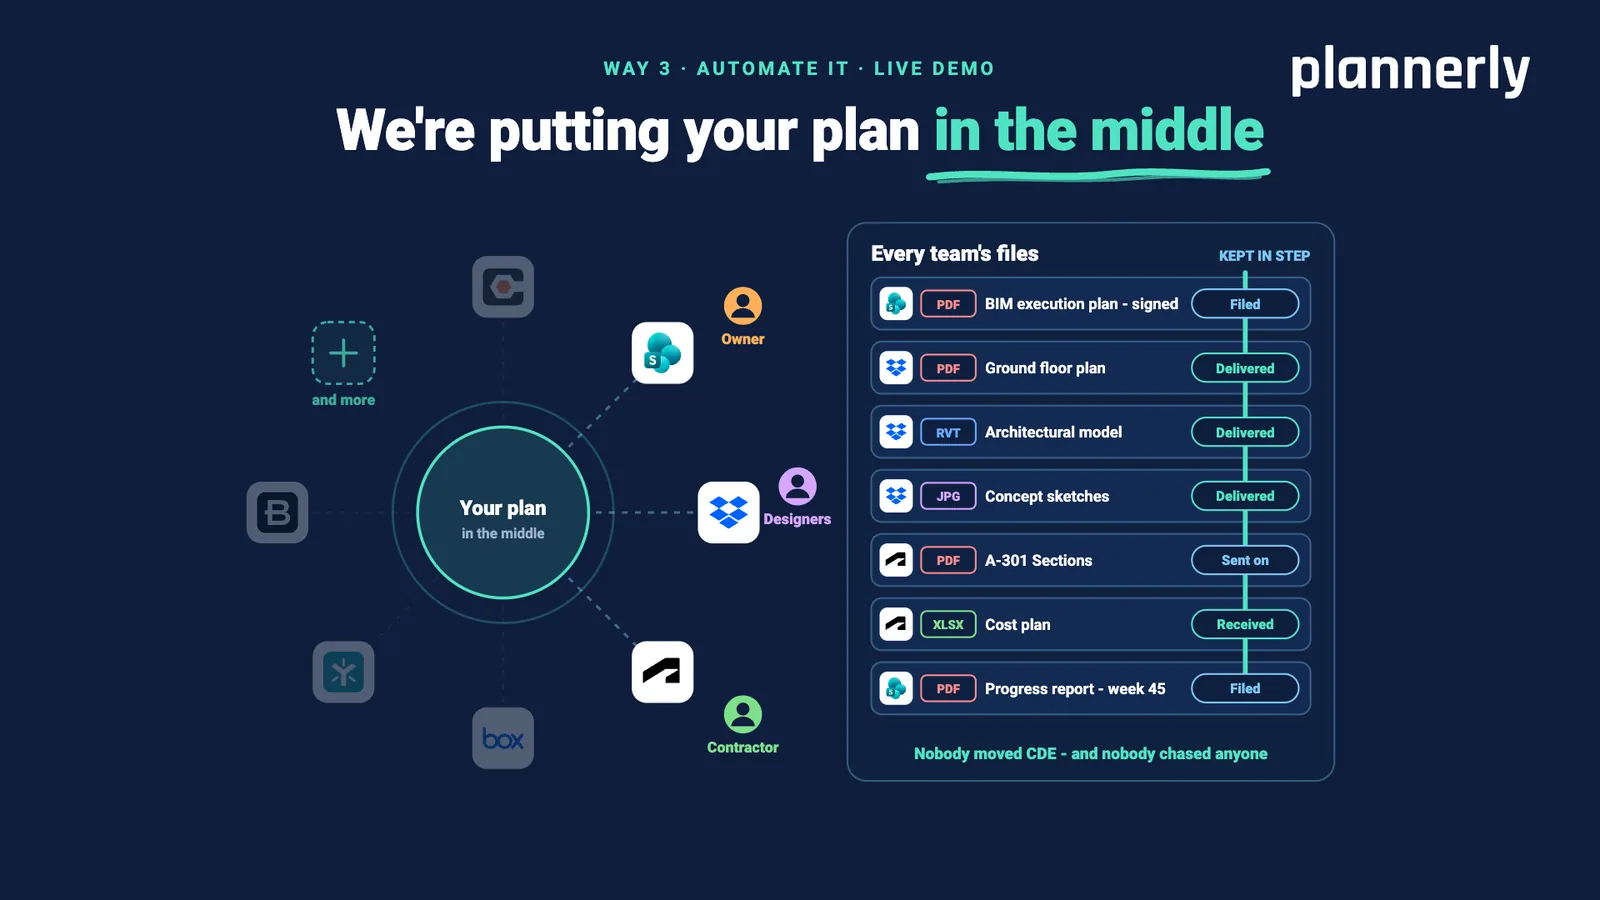
The client keeps SharePoint. The designers keep Dropbox. The contractor keeps Autodesk Forma. CDE Connect keeps them in step.
Every team's files, kept in step:
BIM execution plan, signed - filed
Ground floor plan - delivered
Architectural model - delivered
Concept sketches - delivered
A-301 Sections - sent on
Cost plan - received
Progress report, week 45 - filedNobody moved CDE - and nobody chased anyone.
Slide 3: The whole difference
Every project moves files between CDEs. Let them move themselves.
Auto-Publish: send it out. Auto-Collect: bring it in. Auto-Route: pass it on.
Slide 4: The ISO 19650 idea
Know where to find the latest. One source of truth.
Best practice says you should always be able to find the right file. Real projects have it in seven places.
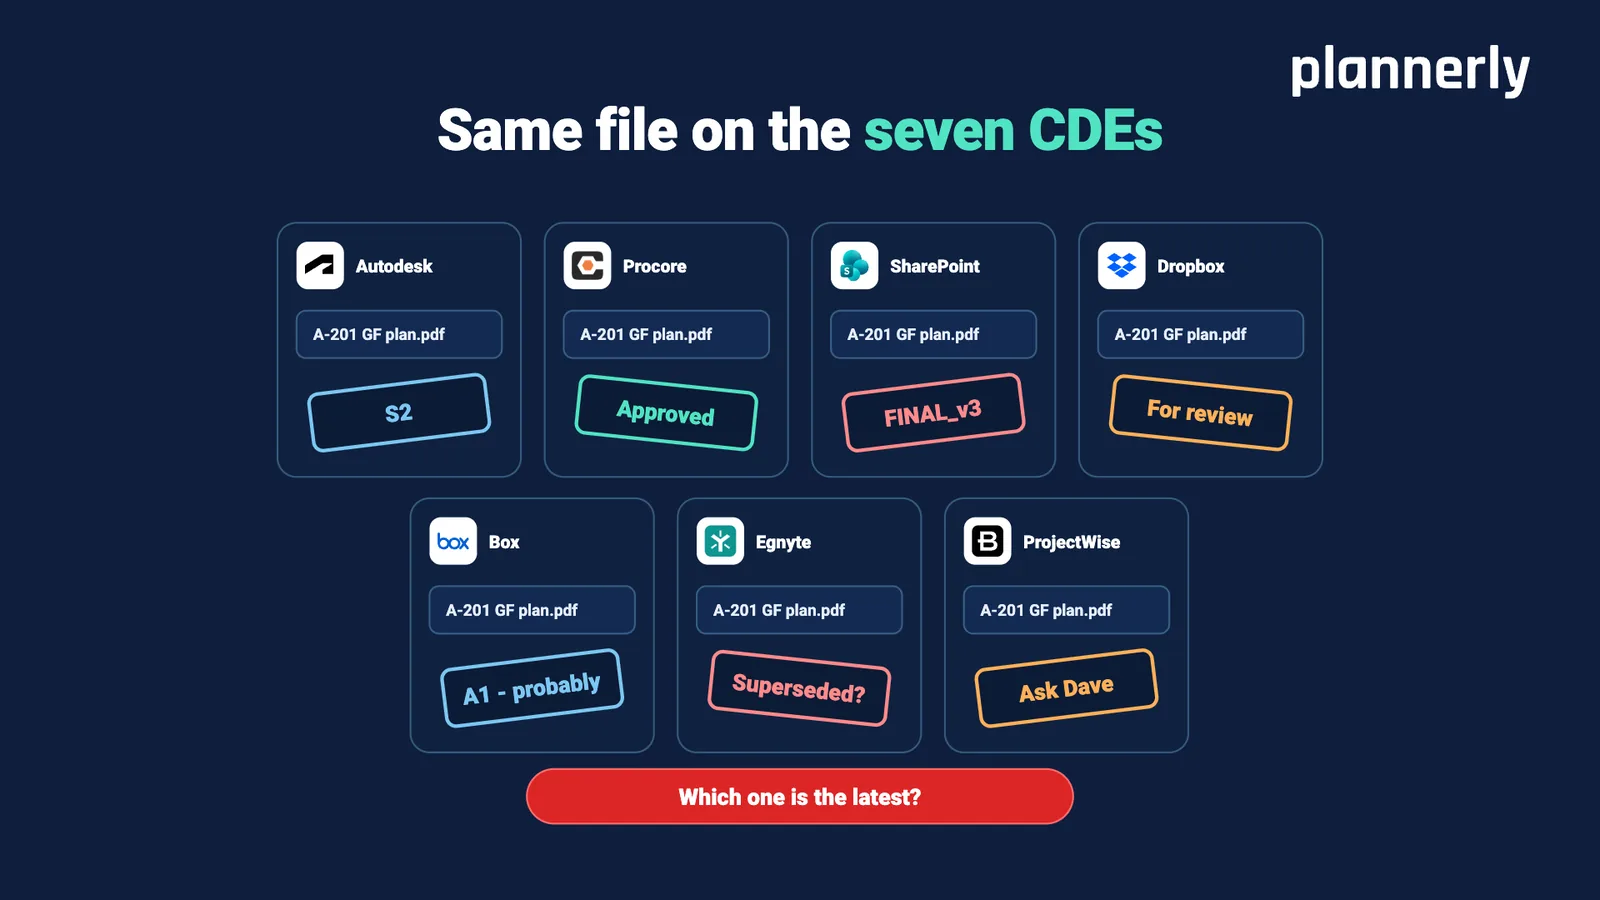
Slide 5: Same file on the seven CDEs
One file, A-201 GF plan.pdf, on seven CDEs, with a different status on each:
Autodesk - S2
Procore - Approved
SharePoint - FINAL_v3
Dropbox - For review
Box - A1 - probably
Egnyte - Superseded?
ProjectWise - Ask DaveWhich one is the latest?
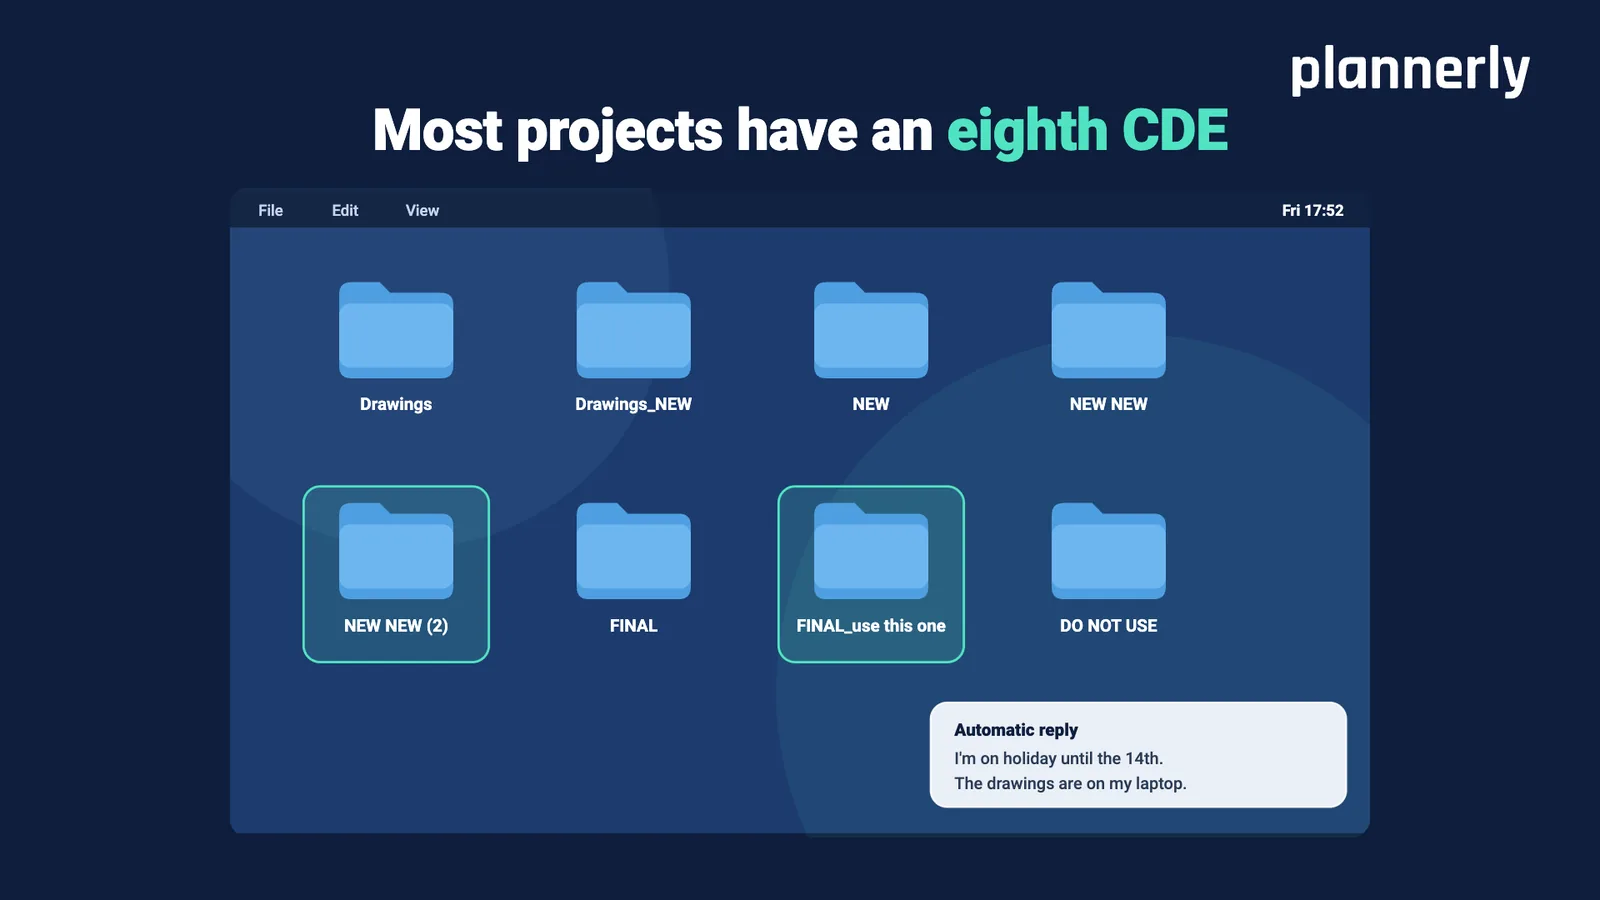
Slide 6: Most projects have an eighth CDE
Somebody's desktop: Drawings, Drawings_NEW, NEW, NEW NEW, NEW NEW (2), FINAL, FINAL_use this one, DO NOT USE.
Automatic reply: I'm on holiday until the 14th. The drawings are on my laptop.
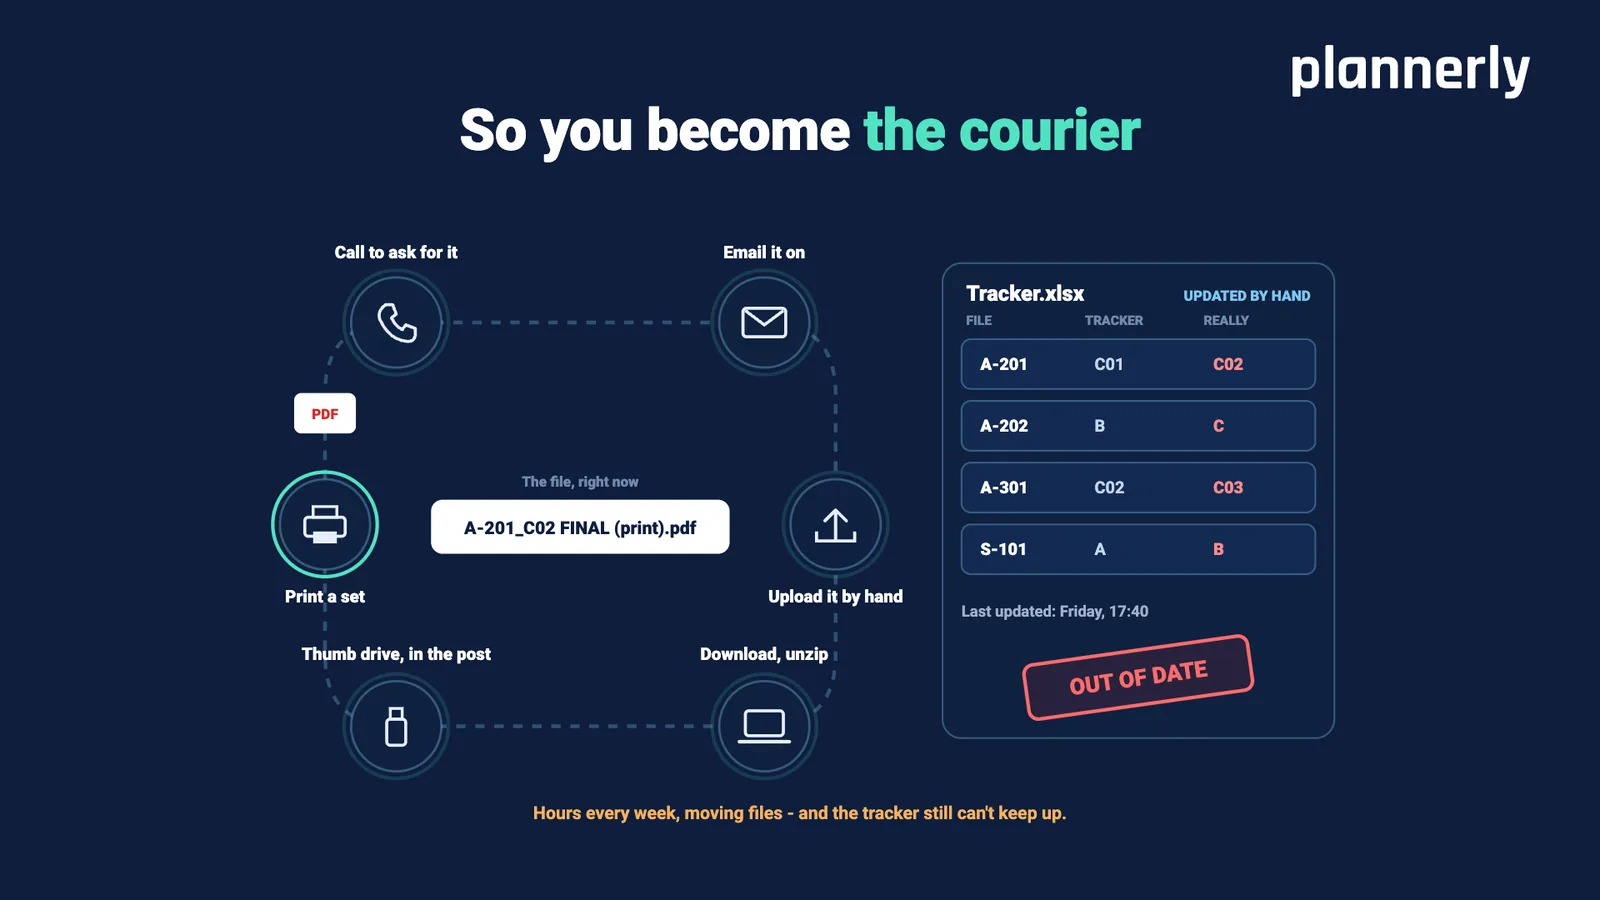
Slide 7: So you become the courier
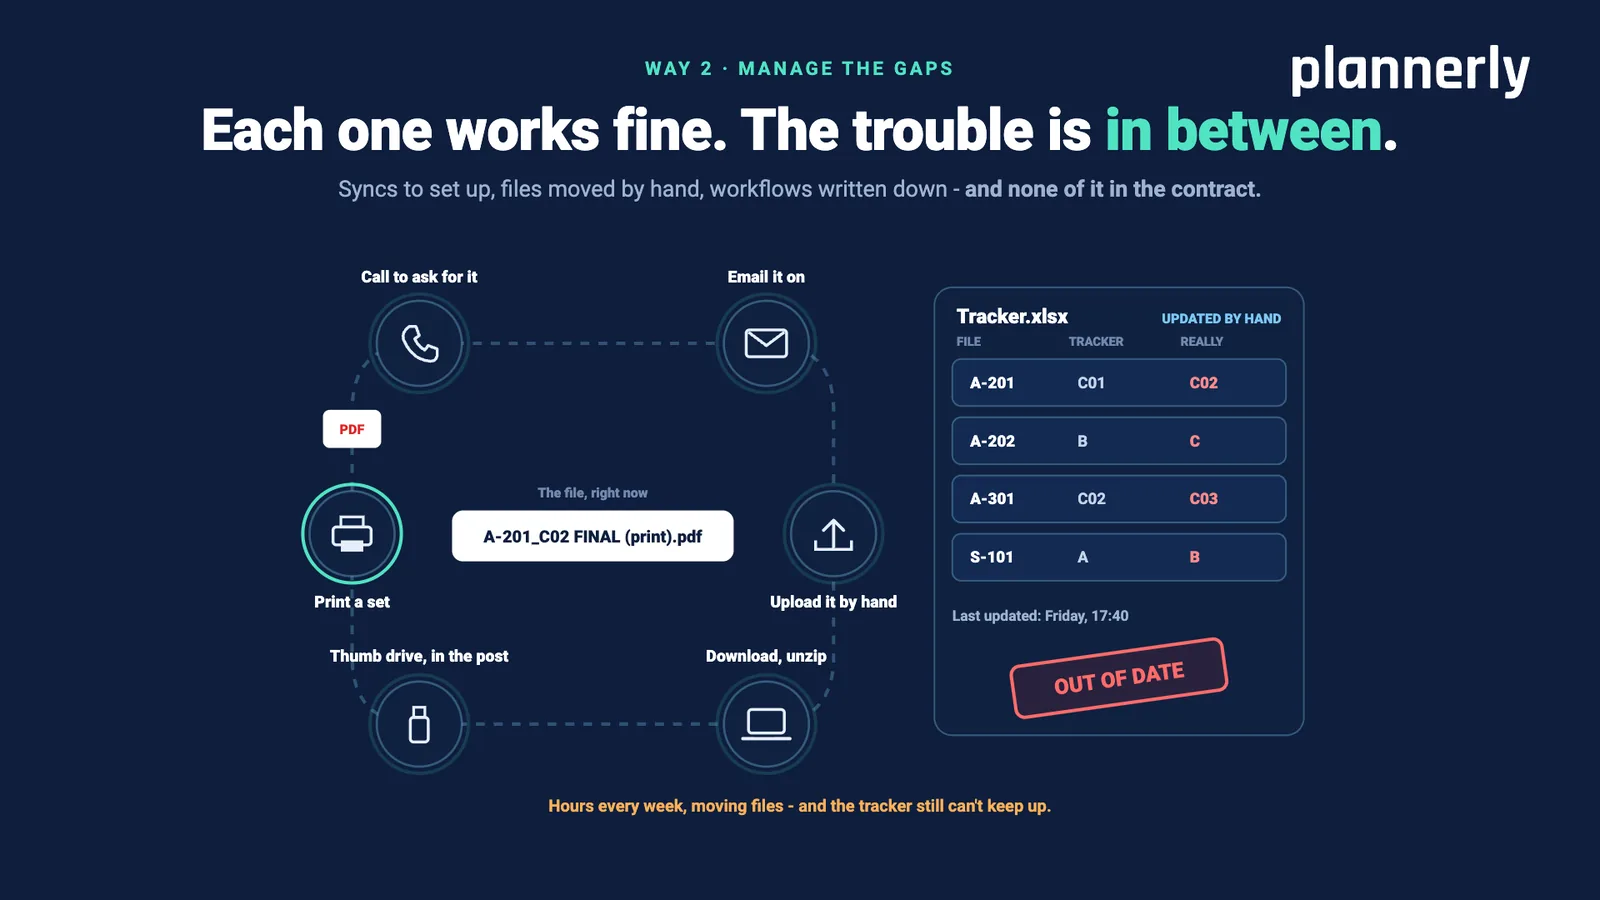
Call to ask for it. Email it on. Upload it by hand. Download, unzip. Thumb drive, in the post. Print a set.
A-201.pdf becomes A-201 (1).pdf, A-201_C02.pdf, A-201_C02 (2).pdf, A-201_C02 FINAL.pdf and A-201_C02 FINAL (print).pdf.
Tracker.xlsx, updated by hand. Last updated: Friday, 17:40. Out of date.
Hours every week, moving files - and the tracker still can't keep up.
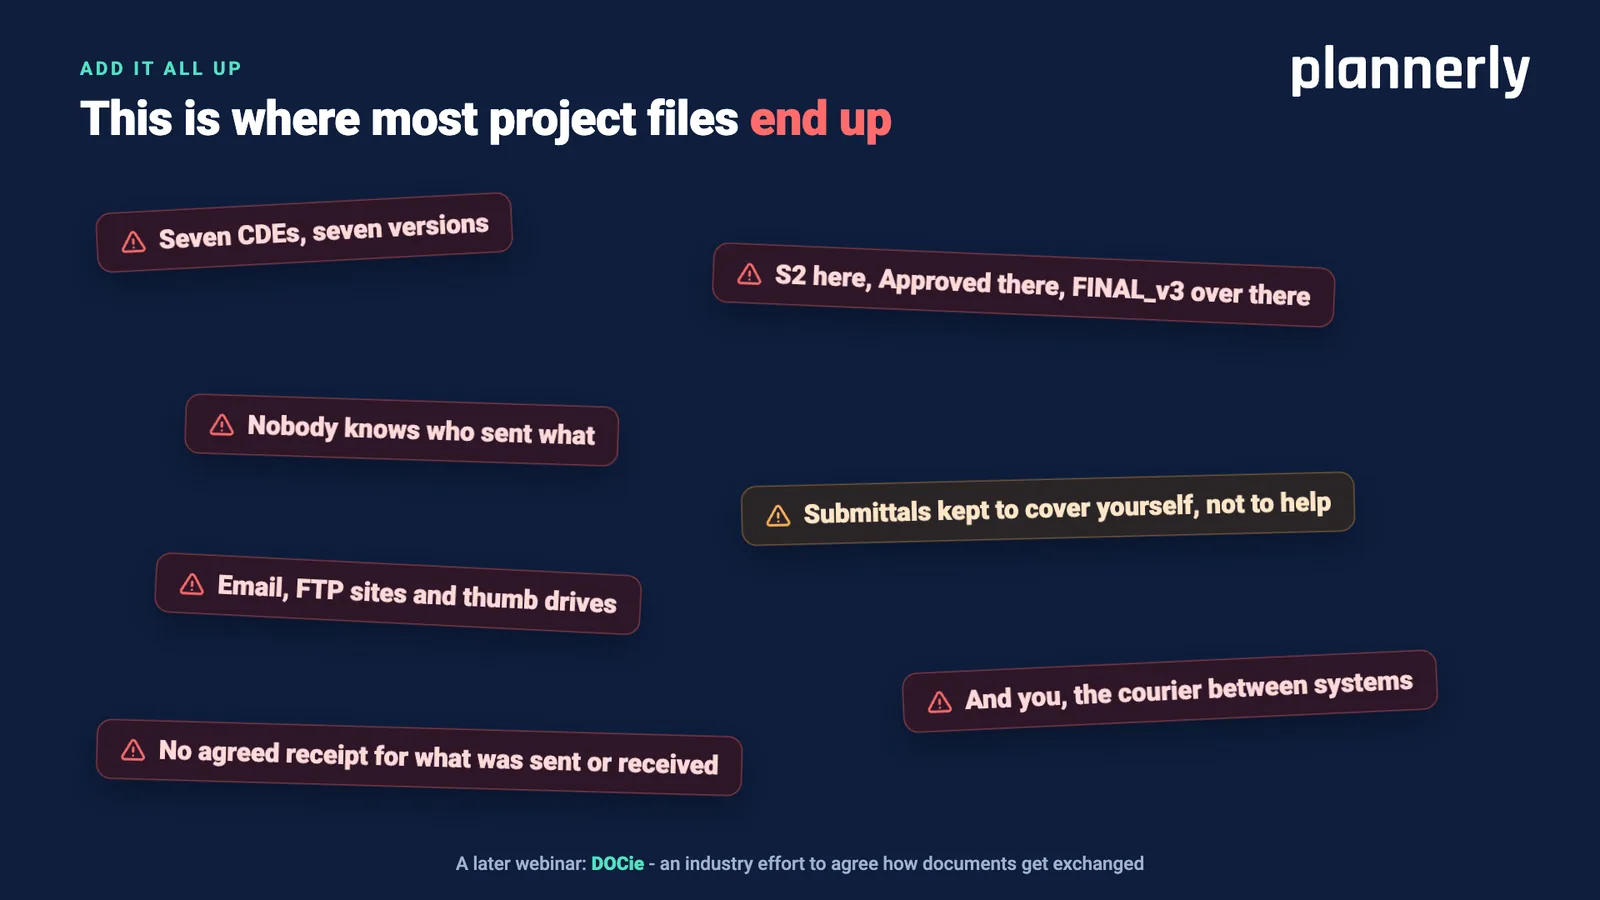
Slide 8: Add it all up: where most project files end up
This is where most project files end up:
Seven CDEs, seven versions
S2 here, Approved there, FINAL_v3 over there
Nobody knows who sent what
Submittals kept to cover yourself, not to help
Email, FTP sites and thumb drives
And you, the courier between systems
No agreed receipt for what was sent or receivedA later webinar: DOCie - an industry effort to agree how documents get exchanged.
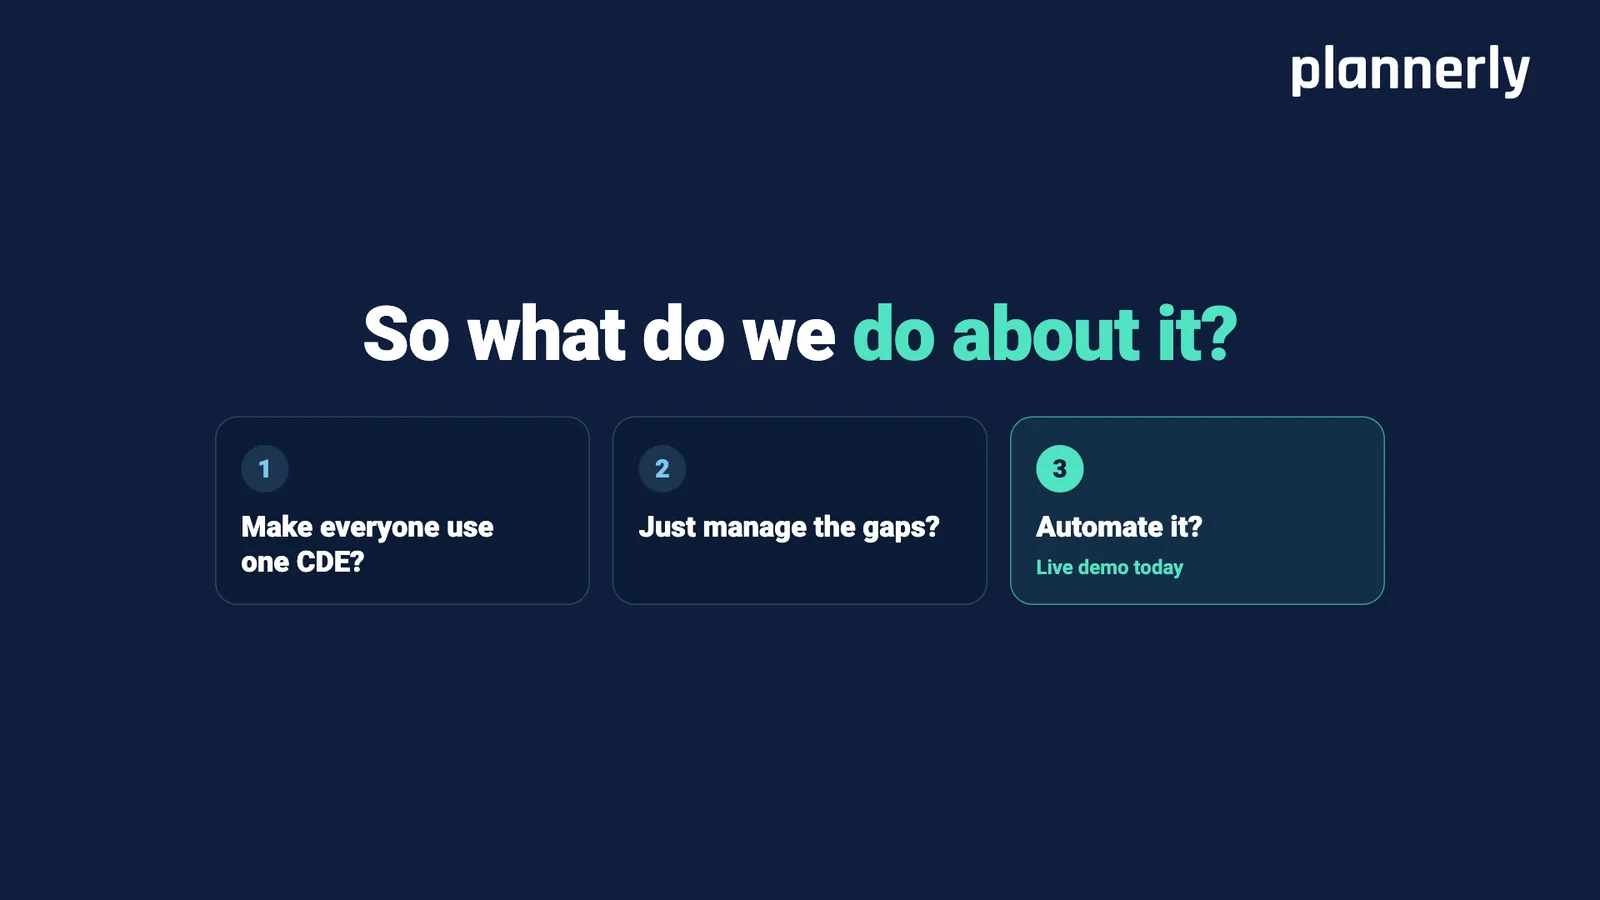
Slide 9: So what do we do about it?
1. Make everyone use one CDE?
2. Just manage the gaps?
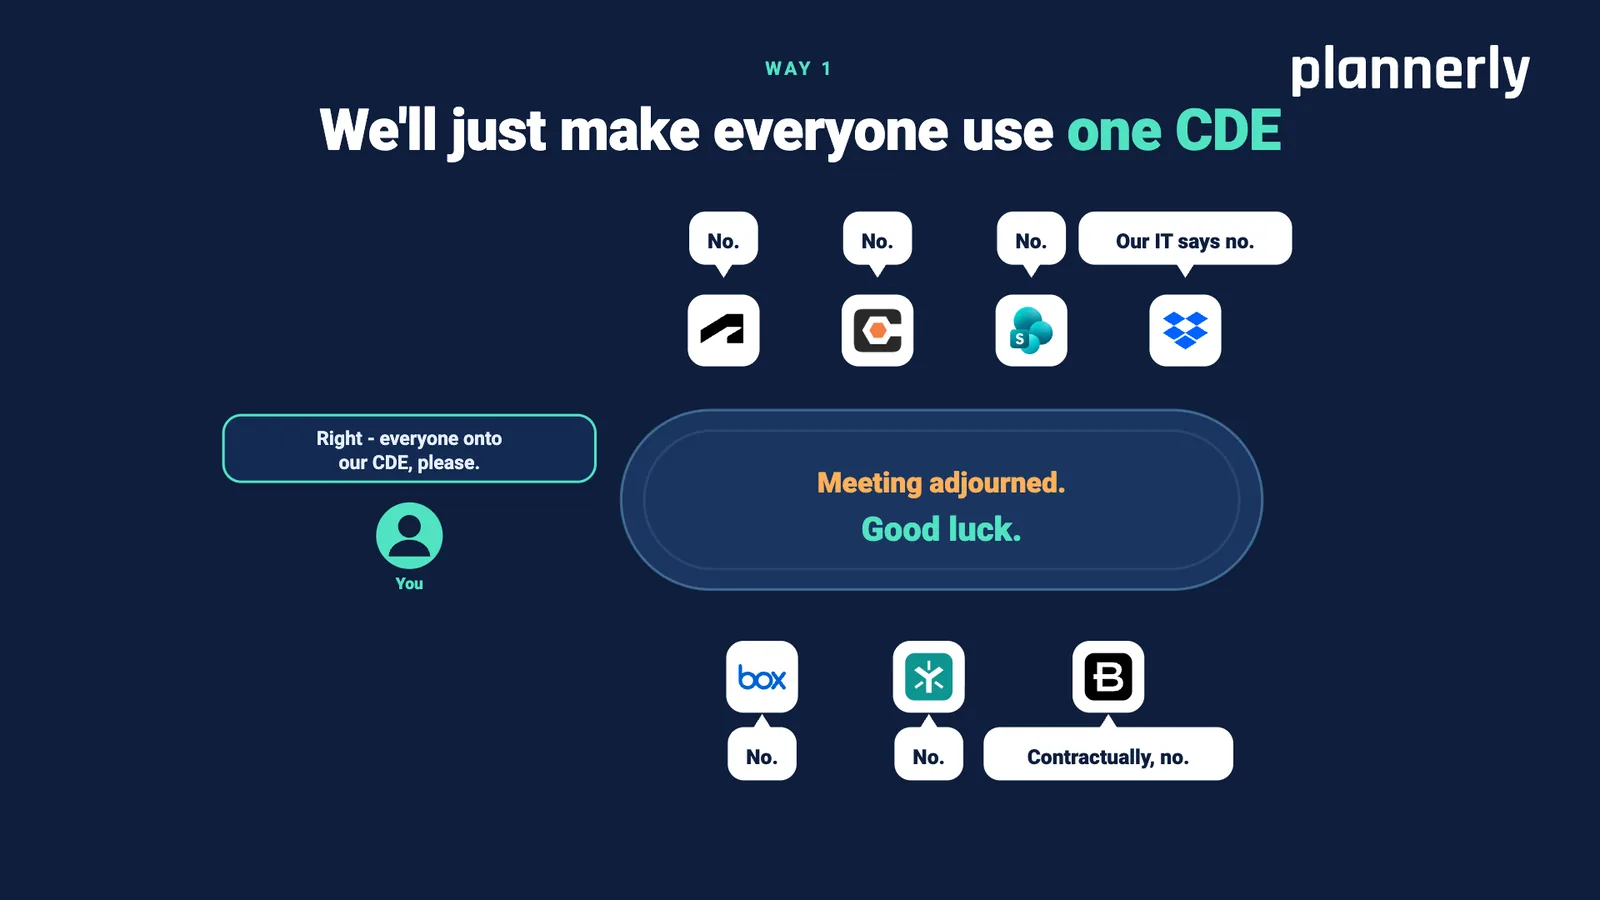
3. Automate it? Live demo today.Slide 10: Way 1: we'll just make everyone use one CDE
Right - everyone onto our CDE, please.
No. No. No. Our IT says no. No. No. Contractually, no.
Meeting adjourned. Good luck.
Slide 11: Way 2: manage the gaps
Each one works fine. The trouble is in between.
Syncs to set up, files moved by hand, workflows written down - and none of it in the contract.
Hours every week, moving files - and the tracker still can't keep up.
Slide 12: Way 3: automate it, with your plan in the middle
We're putting your plan in the middle.
Every team's files, kept in step: filed, delivered, sent on and received.
Nobody moved CDE - and nobody chased anyone.
Slide 13: What if?
What if?
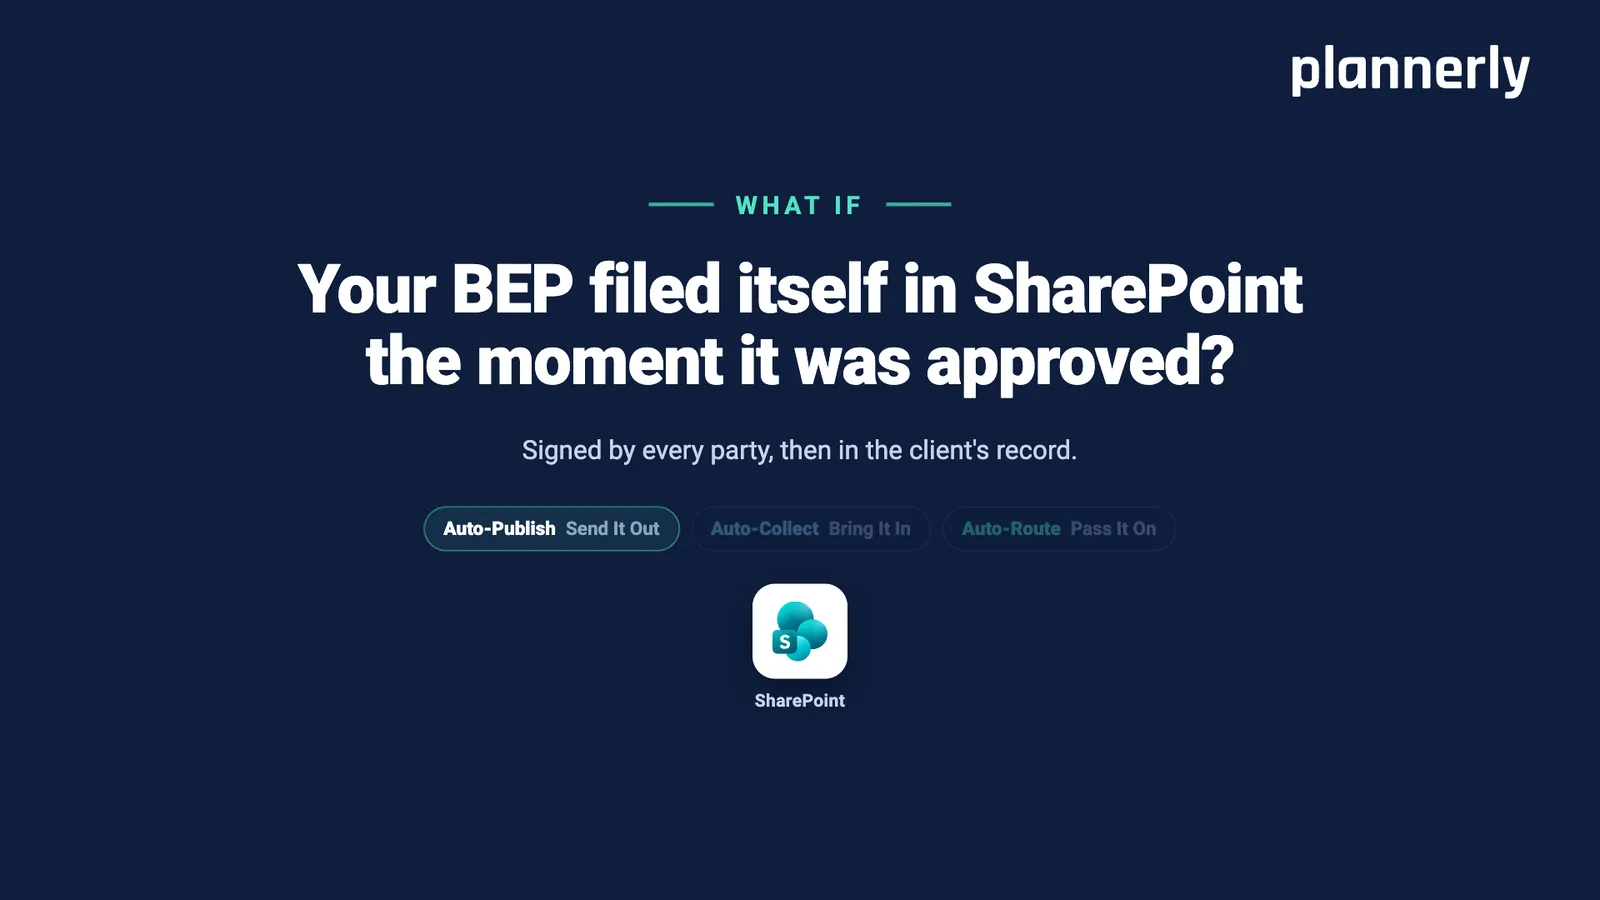
Slide 14: What if your BEP filed itself in SharePoint?
What if your BEP filed itself in SharePoint the moment it was approved?
Signed by every party, then in the client's record.
Auto-Publish: send it out.
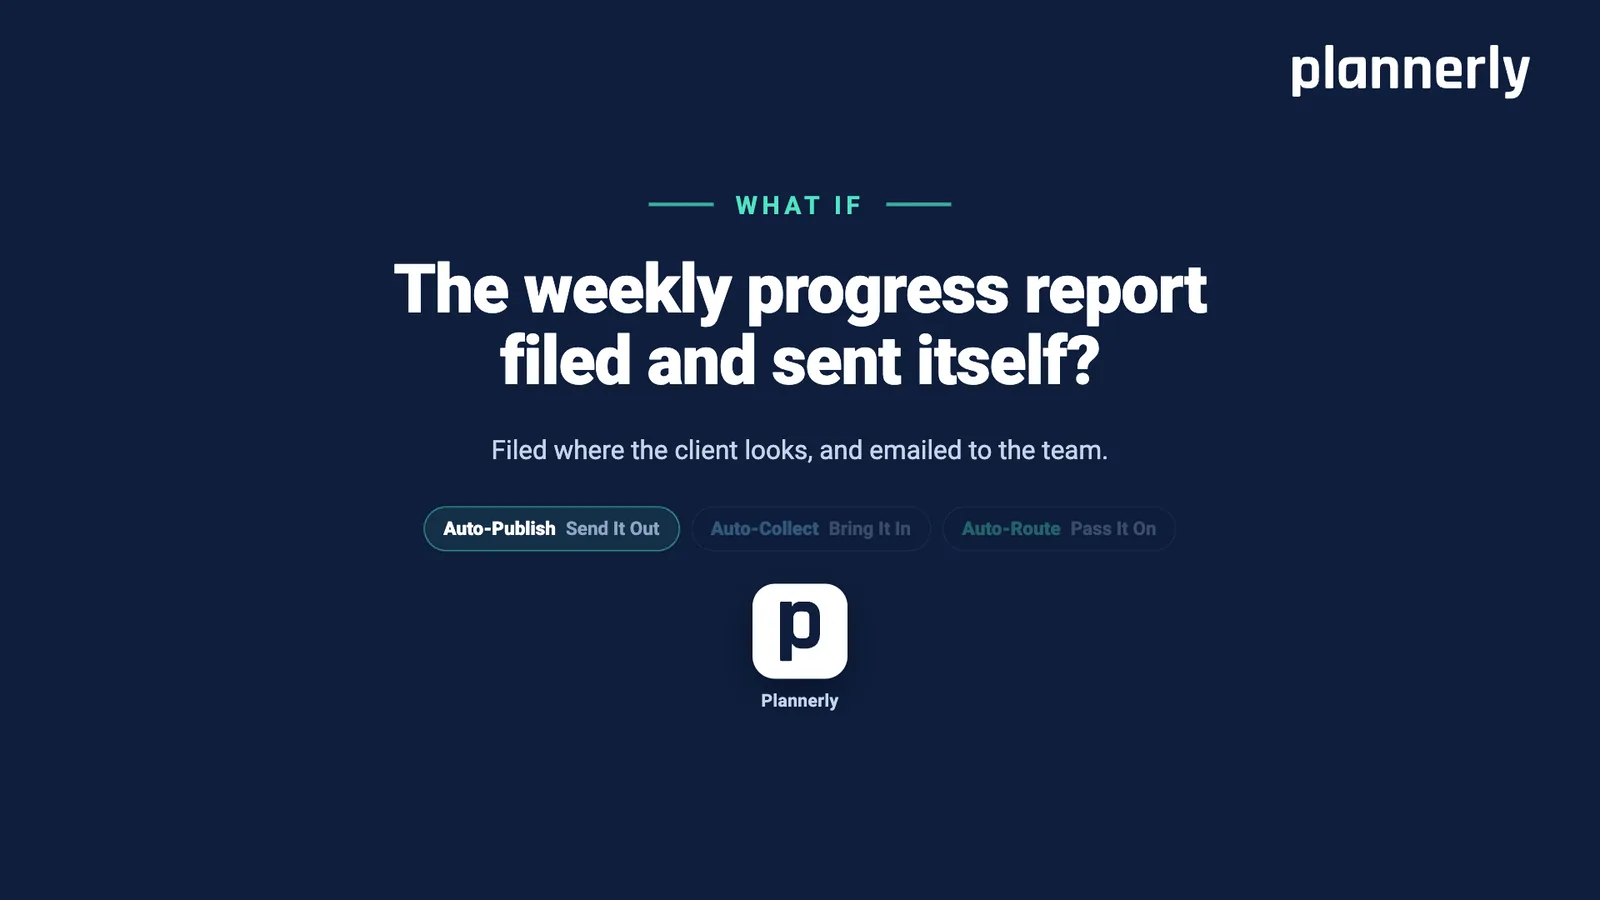
Slide 15: What if the weekly progress report filed and sent itself?
What if the weekly progress report filed and sent itself?
Filed where the client looks, and emailed to the team.
Auto-Publish: send it out.
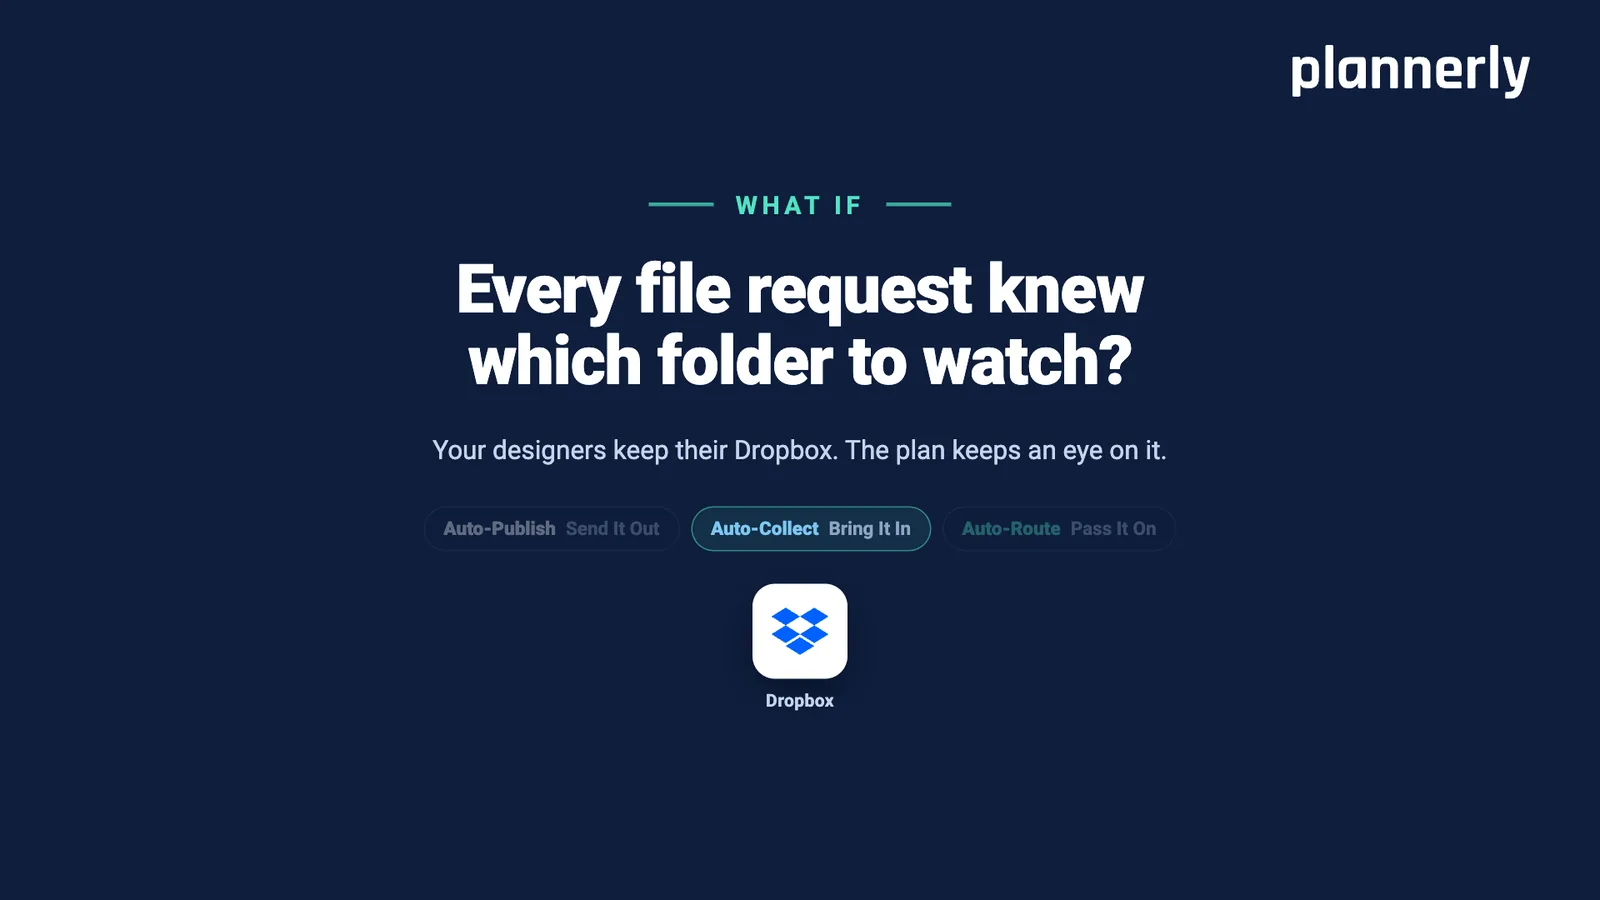
Slide 16: What if every file request knew which folder to watch?
What if every file request knew which folder to watch?
Your designers keep their Dropbox. The plan keeps an eye on it.
Auto-Collect: bring it in.
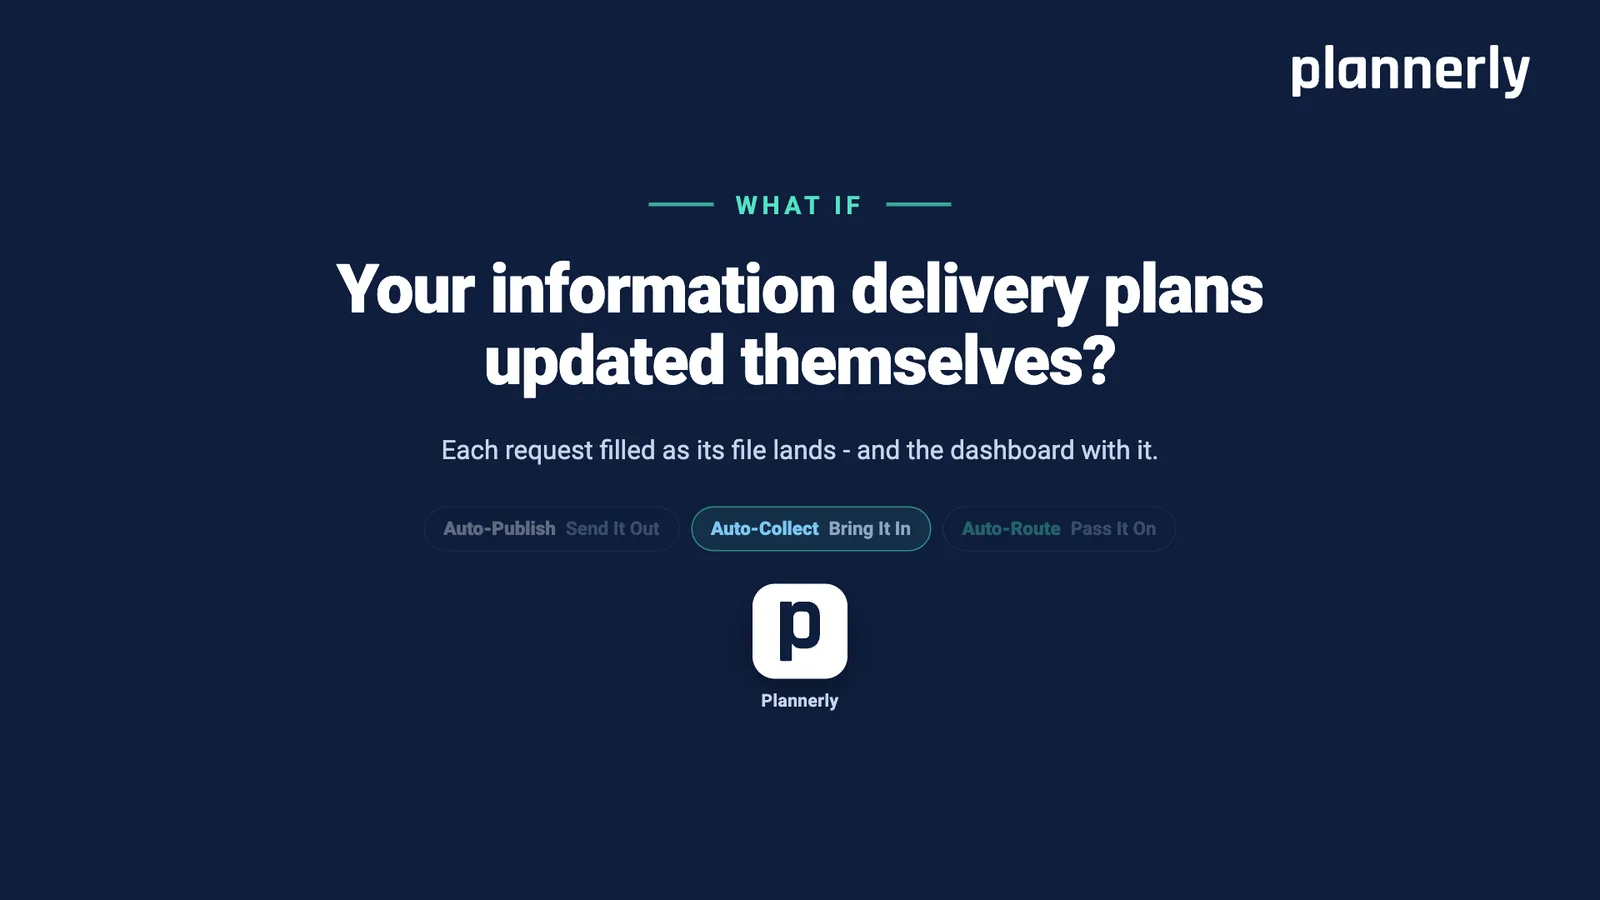
Slide 17: What if your information delivery plans updated themselves?
What if your information delivery plans updated themselves?
Each request filled as its file lands - and the dashboard with it.
Auto-Collect: bring it in.
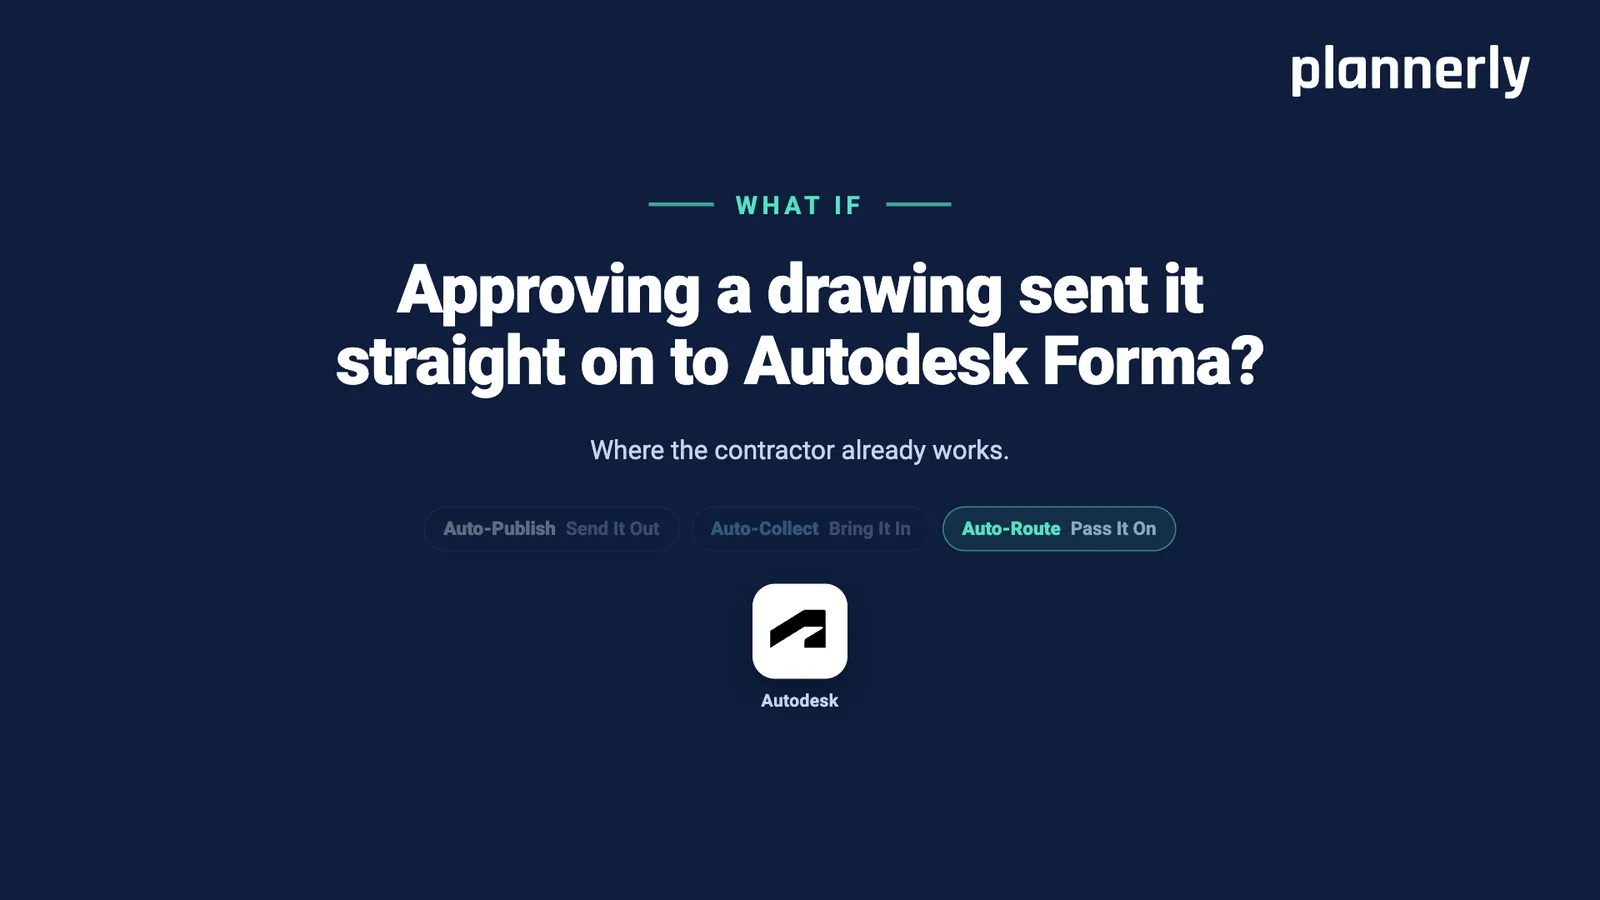
Slide 18: What if approving a drawing sent it straight on to Autodesk Forma?
What if approving a drawing sent it straight on to Autodesk Forma?
Where the contractor already works.
Auto-Route: pass it on.
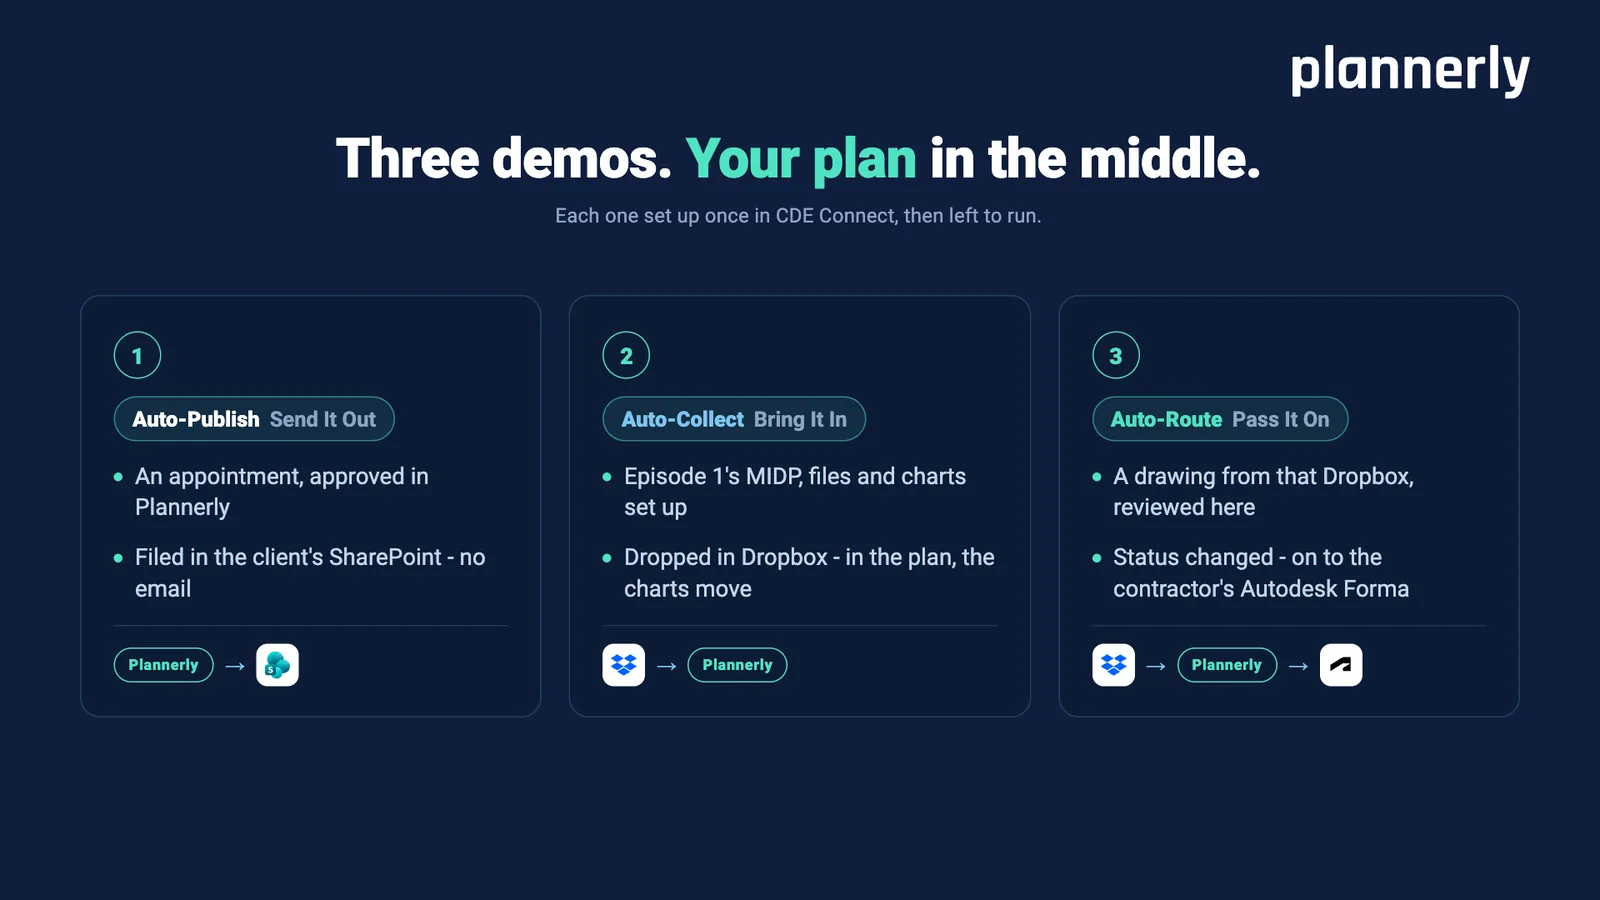
Slide 19: Three demos. Your plan in the middle.
Each one set up once in CDE Connect, then left to run.
1. Auto-Publish, send it out: an appointment, approved in Plannerly, filed in the client's SharePoint - no email.
2. Auto-Collect, bring it in: Episode 1's MIDP, files and charts set up. Dropped in Dropbox - in the plan, the charts move.
3. Auto-Route, pass it on: a drawing from that Dropbox, reviewed here. Status changed - on to the contractor's Autodesk Forma.
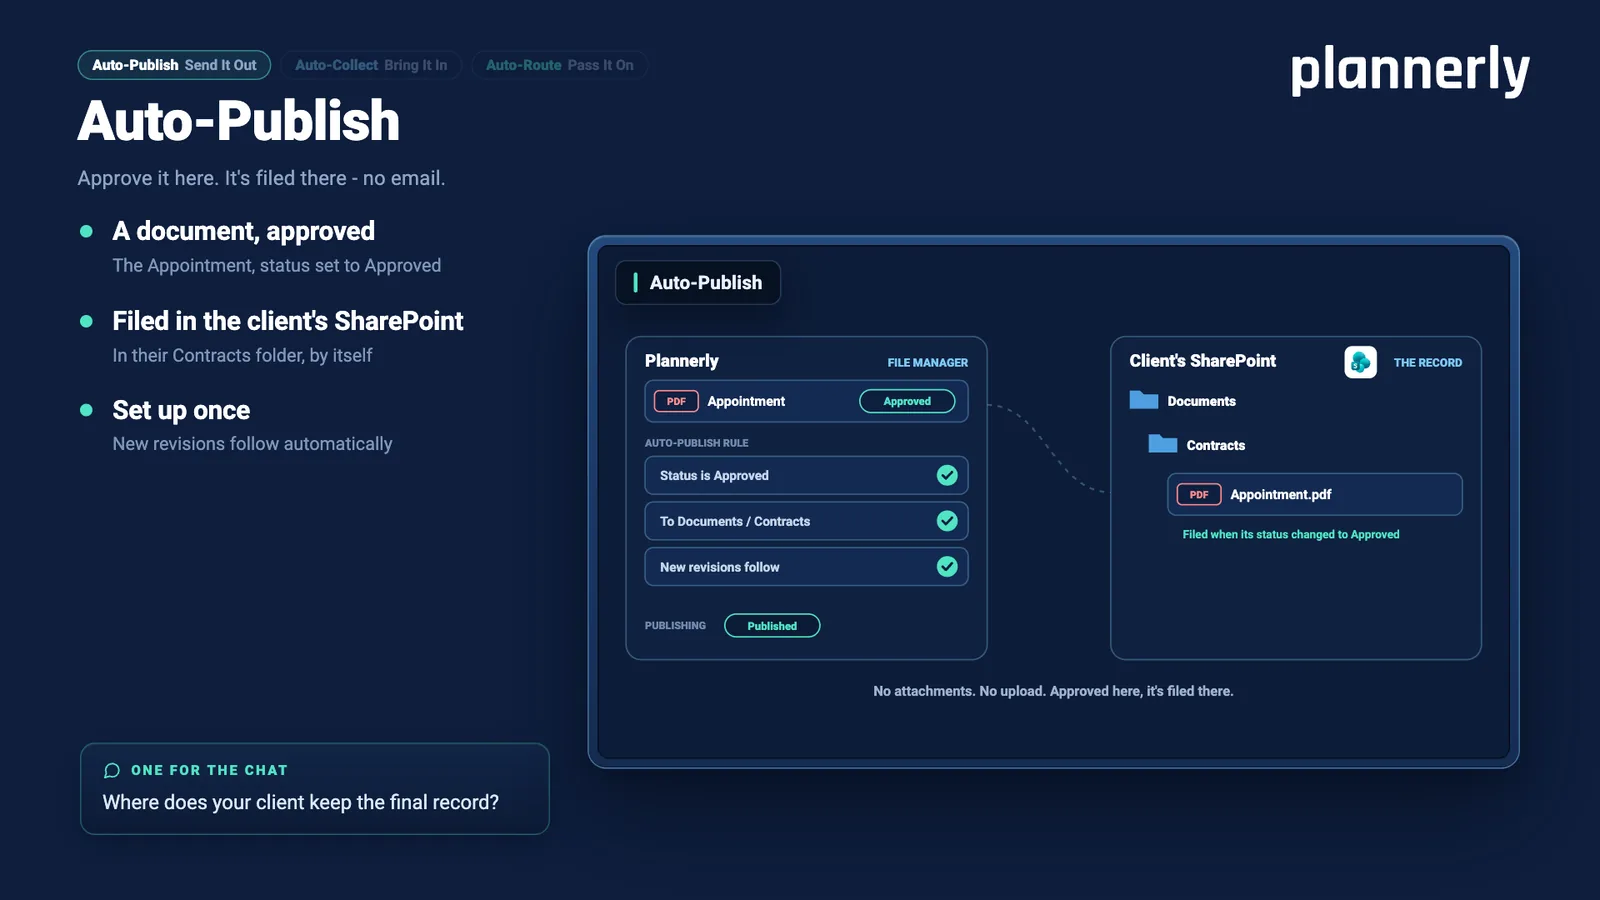
Slide 20: Auto-Publish: send it out
Approve it here. It's filed there - no email.
A document, approved - the Appointment, status set to Approved.
Filed in the client's SharePoint - in their Contracts folder, by itself.
Set up once - new revisions follow automatically.The rule: status is Approved, to Documents / Contracts, new revisions follow.
No attachments. No upload. Approved here, it's filed there.
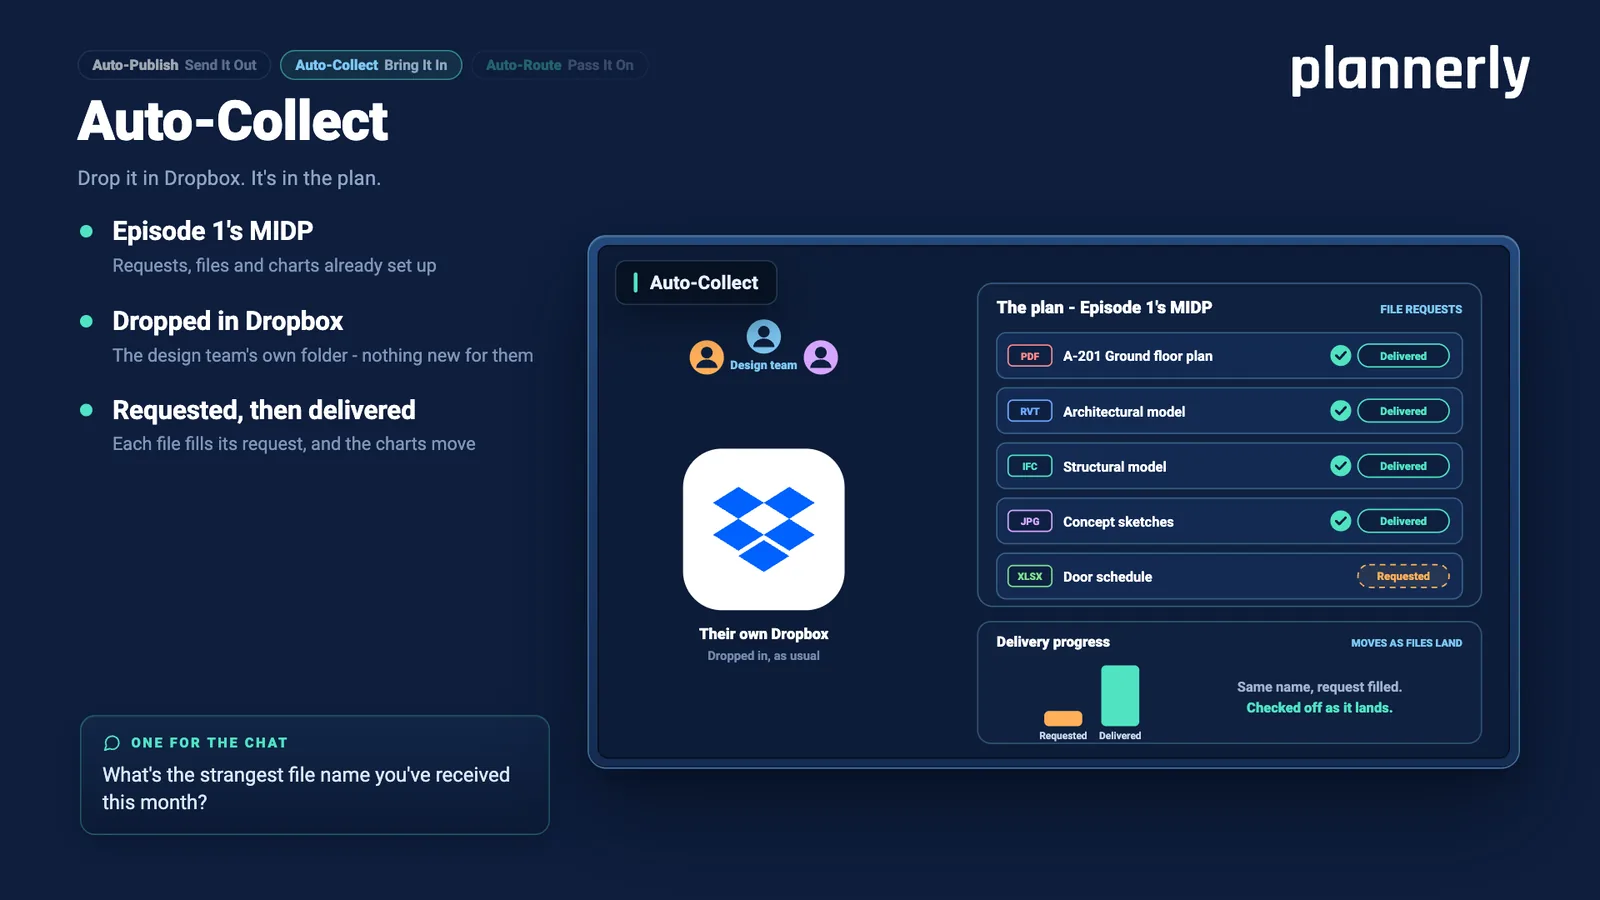
Slide 21: Auto-Collect: bring it in
Drop it in Dropbox. It's in the plan.
Episode 1's MIDP - requests, files and charts already set up.
Dropped in Dropbox - the design team's own folder, nothing new for them.
Requested, then delivered - each file fills its request, and the charts move.Same name, request filled. Checked off as it lands.
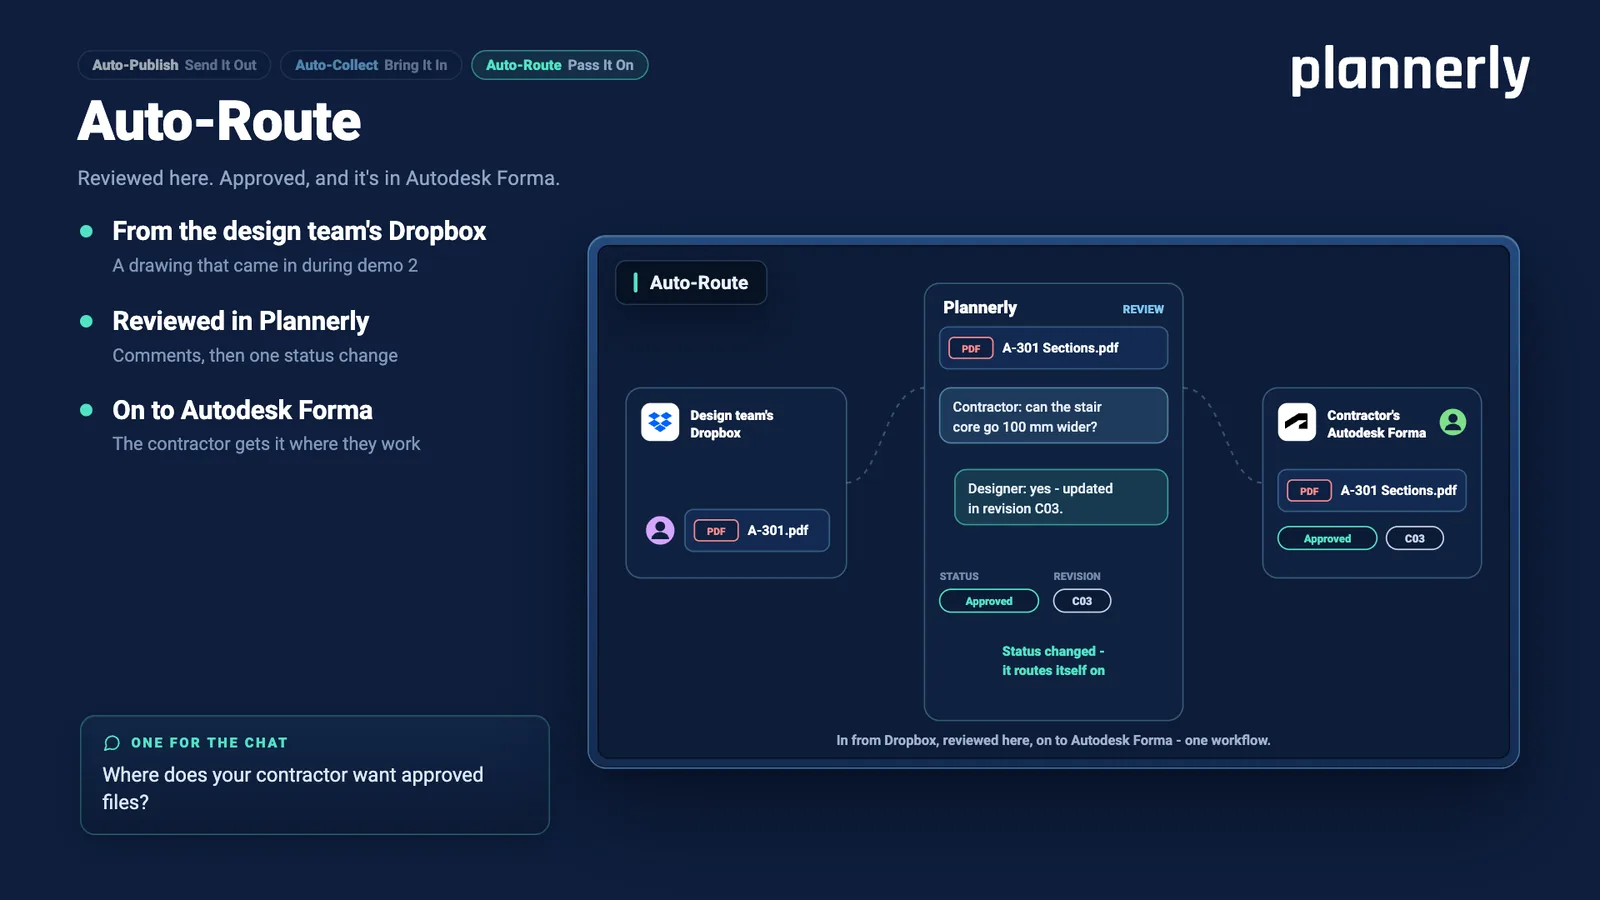
Slide 22: Auto-Route: pass it on
Reviewed here. Approved, and it's in Autodesk Forma.
From the design team's Dropbox - a drawing that came in during demo 2.
Reviewed in Plannerly - comments, then one status change.
On to Autodesk Forma - the contractor gets it where they work.In from Dropbox, reviewed here, on to Autodesk Forma - one workflow.
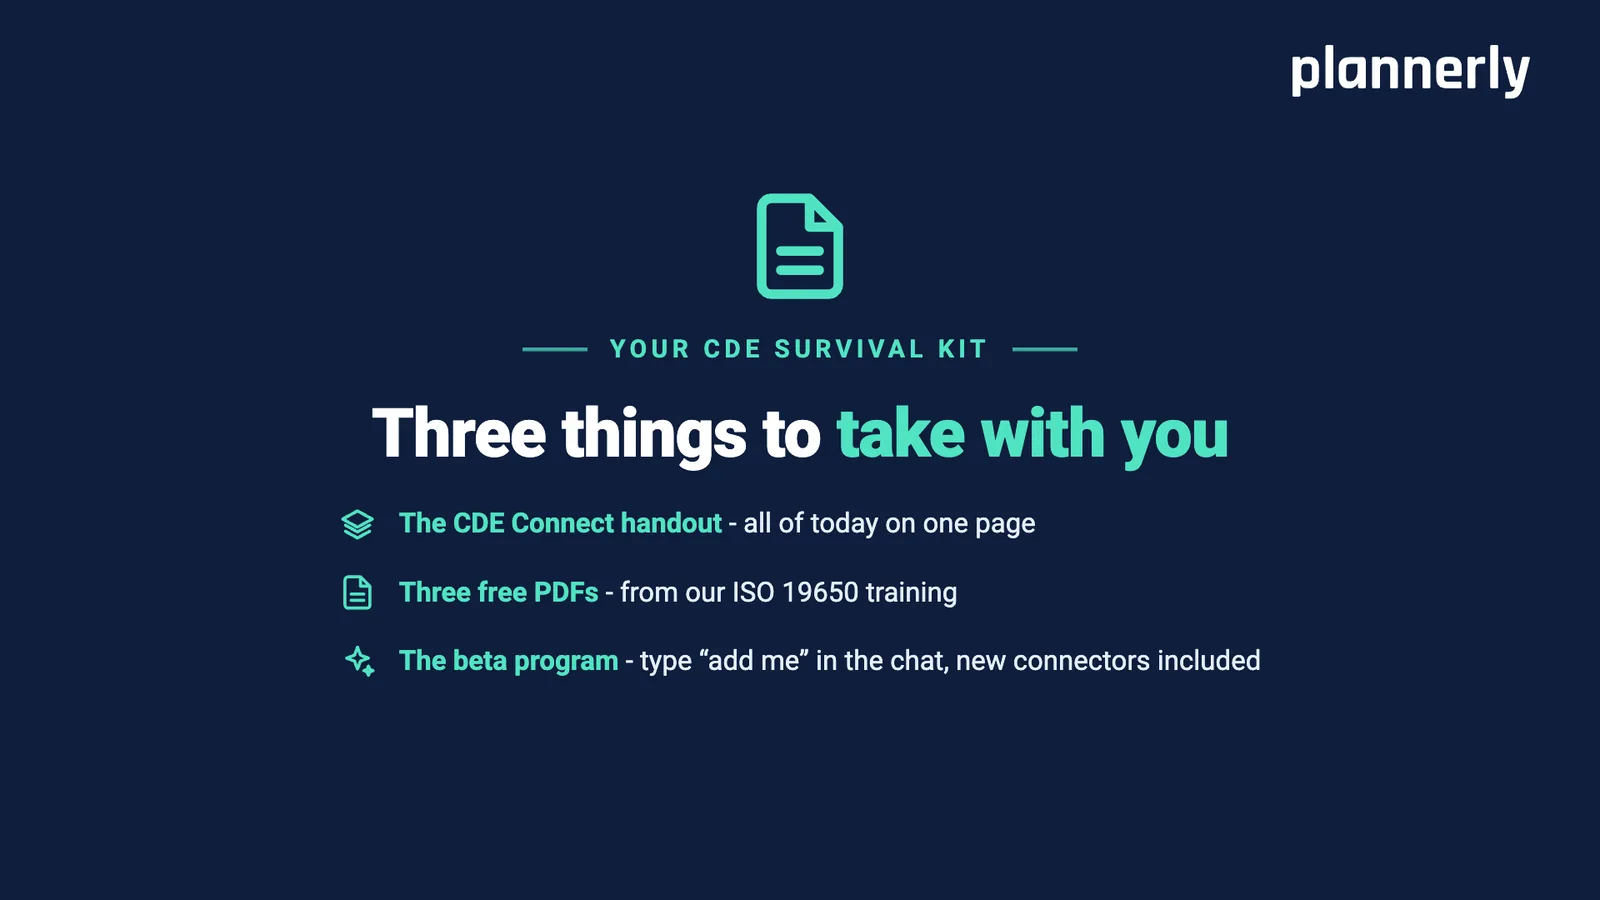
Slide 23: Your CDE Survival Kit
Three things to take with you:
The CDE Connect handout - all of today on one page.
Three free PDFs - from our ISO 19650 training.
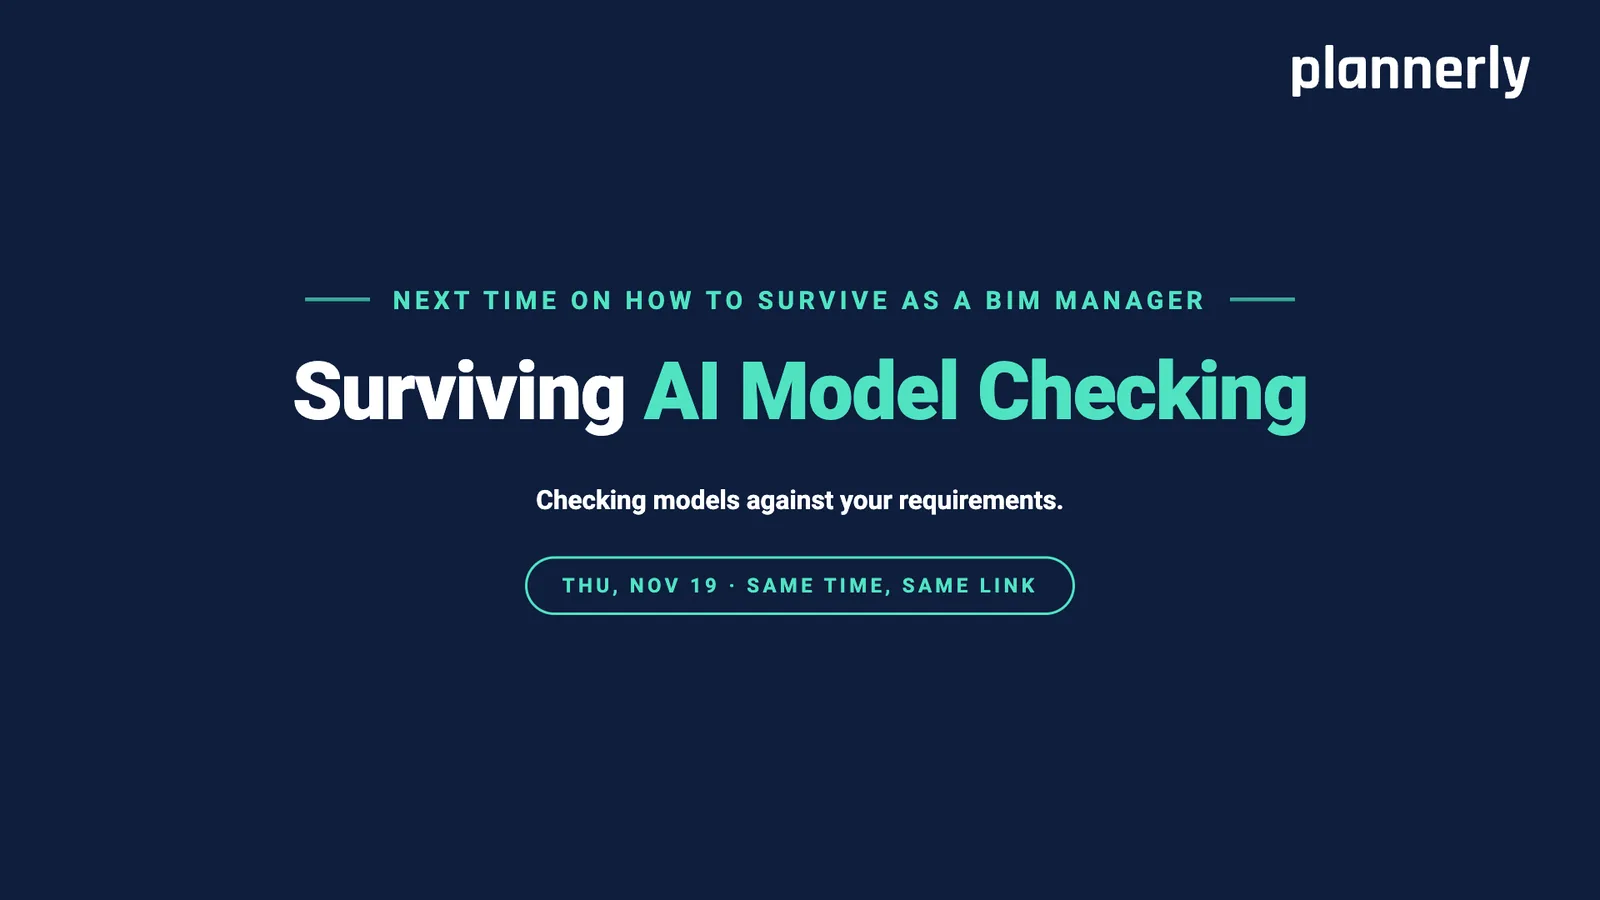
The beta program - type "add me" in the chat, new connectors included.Slide 24: Next time: Surviving AI Model Checking
Next time on How to survive as a BIM Manager: Surviving AI Model Checking. Checking models against your requirements.
Thu, Nov 19 - same time, same link.
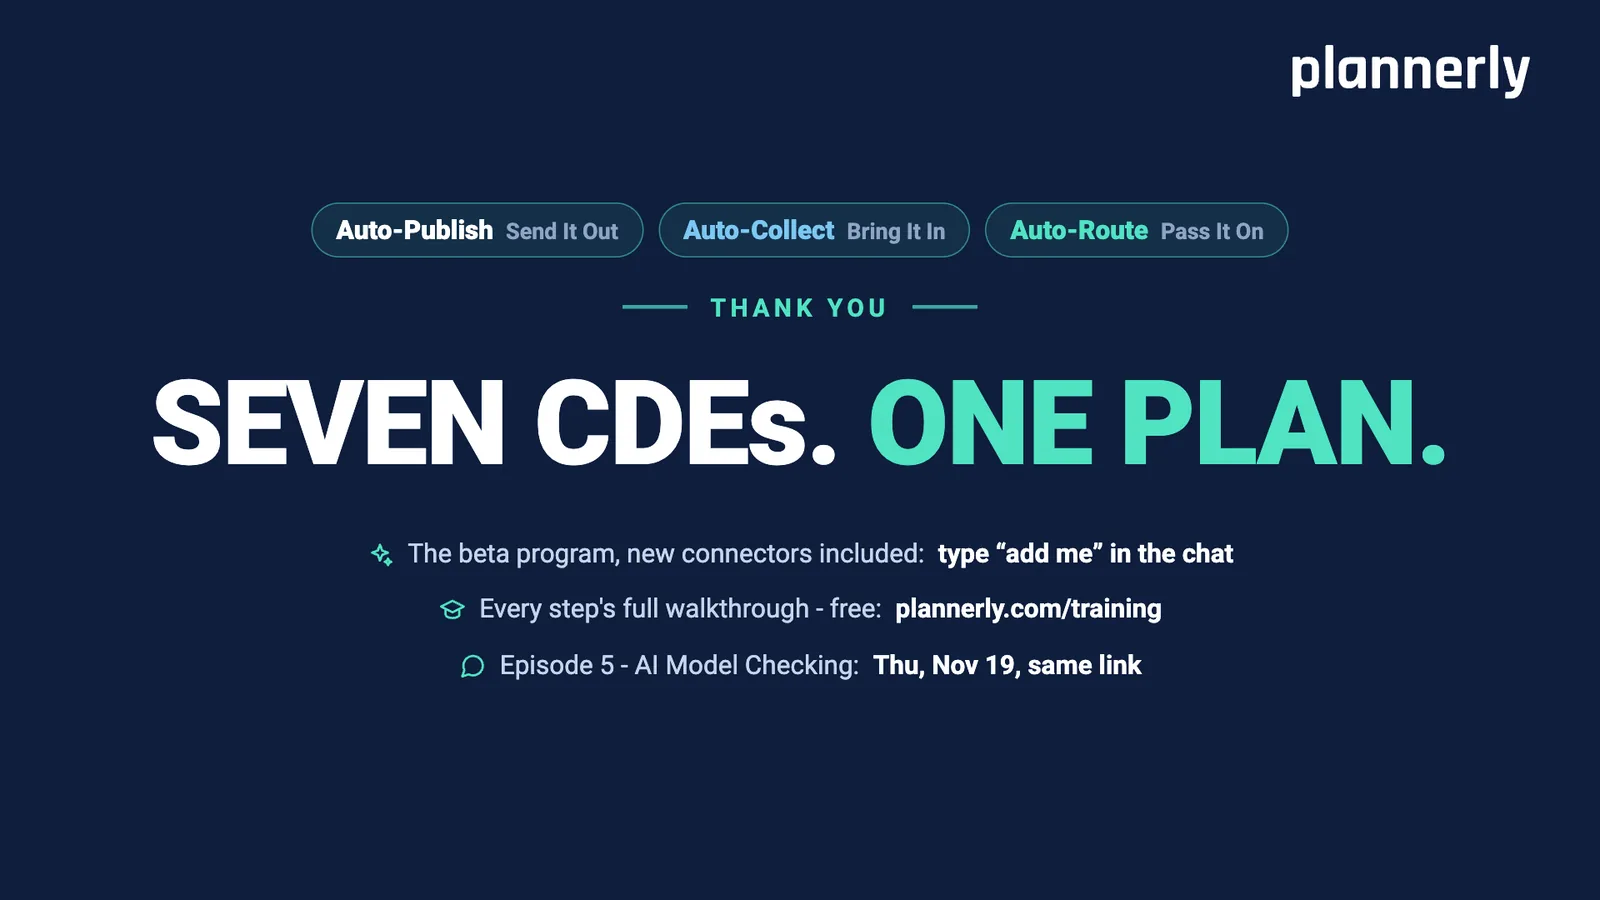
Slide 25: Thank you
Seven CDEs. One plan.
The beta program, new connectors included: type "add me" in the chat.
Every step's full walkthrough - free: plannerly.com/training
Episode 5 - AI Model Checking: Thu, Nov 19, same link.
Most projects don't have one CDE. They have several, and the real work is moving files between them. In Episode 4 of How to survive as a BIM Manager, Akos Hamar, Plannerly's COO, shows three ways to let files move themselves with your plan in the middle: Auto-Publish files an approved document in the client's SharePoint, Auto-Collect turns files dropped in the design team's Dropbox into filled requests and moving charts, and Auto-Route passes a reviewed drawing on to the contractor's Autodesk Forma. Each one is set up once in CDE Connect, then left to run.
Good to know - watch in your language. On YouTube, open the gear icon in the player. Subtitles/CC has Auto-translate, and Audio track has an auto-dubbed voice where one is available.
What is a CDE, and why do projects end up with several?
A common data environment (CDE) is the agreed place where a project's information is collected, managed and shared. The ISO 19650 idea behind it is simple: you should always be able to find the latest version of the right file, from one source of truth.
That can work with several CDEs, as long as everyone knows which one to go to for which file, approval or certificate. In practice each company brings its own. With maybe 20 companies on a project, getting them all into one tool is a holy grail: some won't, and some can't, because of their IT rules or their contract.
Why is it so hard to find the latest file?
- The same file has a different status in every place. One drawing can be S2 here, Approved there and FINAL_v3 over there. So which one is the latest?
- There's an eighth CDE: somebody's desktop. "It's on my laptop. I'm on holiday until the 14th."
- You become the courier. Download, upload, rename, email, zip, thumb drive, in the post. Each tool works fine on its own. The trouble is in between.
- The tracker can't keep up. A tracker updated by hand is out of date as soon as the next file is issued.
- Nobody has a receipt. There's no agreed way to record what was sent and received. DOCie, an industry effort to agree how documents get exchanged, is the subject of a later webinar on 17 December.
What are the three ways to deal with it?
| Way | What it means | What happens |
|---|---|---|
| 1. Make everyone use one CDE | One tool for every company on the project | IT says no, the contract says no, and the meeting is adjourned |
| 2. Manage the gaps | Syncs to set up, files moved by hand, workflows written down | Each tool works, you become the courier, and the tracker still falls behind |
| 3. Automate it | Put your plan in the middle | Every team keeps its CDE, files move on a rule, and the plan checks them off |
Adding another CDE only adds complexity, so nobody is asked to move. Each team keeps what it uses today, and CDE Connect keeps them in step.
What is CDE Connect?
CDE Connect is where you link a Plannerly project to another team's CDE. Choose the CDE, sign in, say whether files go out or come in, preview the automation and turn it on. The episode shows three automations:
| Automation | What it does | In the demo |
|---|---|---|
| Auto-Publish - send it out | Publish it here, and it lands there | An approved document goes to the client's SharePoint |
| Auto-Collect - bring it in | Delivered there, filled here | Files in the design team's Dropbox fill their requests |
| Auto-Route - pass it on | Approved here, passed on | A reviewed drawing goes on to the contractor's Autodesk Forma |
For the whole job, step by step, see how to connect your CDE.
How do you publish an approved document to a client's SharePoint automatically?
This demo picks up the project from Episode 3, where AI drafted a pre-appointment execution plan from the client's EIR. The team has agreed it, and the client expects the appointment document in their SharePoint.
- Connect the client's SharePoint. On the project dashboard, open CDE Connect, choose SharePoint and choose to send files.
- Pick the folder. Find the client's project and the folder they look in. Here, that's Contracts.
- Set the condition. Not every file should go out. The rule here sends only the document the team agreed, once it's approved.
- Preview, then turn it on. The preview is empty at this point, because no file meets the condition yet.
- Create the document. Export Docs and Scope into one PDF: the pre-appointment execution plan, the responsibility matrix and a cover page. The table of contents, headers and footers come with it, and it lands in File Manager.
- Request signatures. Ask the team to sign from the Signatures column, then sign it yourself.
- Let it go. Once everyone has signed, the status moves to Approved by itself and the document is published to SharePoint. If you can't wait, Check now runs the automation straight away.
Nobody attached anything and nobody uploaded anything. Signing is quick too, because nobody is seeing the document for the first time: as Clive Jordan, Plannerly's co-founder, pointed out, Bharathi Balu, Plannerly's Information Management Lead, had been part of it all the way through.
How do files in someone else's Dropbox fill your MIDP?
This demo uses the MIDP from Episode 1: a list of expected drawings pasted into File Manager and turned into a scope. Every file shows as Requested at version 0, and the small charts in Scope are still amber. The architect keeps their files in Dropbox and has no reason to change.
- Link the Dropbox. In CDE Connect, choose Dropbox, choose to collect files and sign in to the account.
- Pick the source folder. It doesn't have to be tidy. Here everything sits in the root folder, and you can include subfolders too.
- Set default metadata. Not every CDE holds metadata the way Plannerly does, so set defaults here, such as the author.
- Preview, then turn it on.
- Watch the files arrive. Each one shows Dropbox as its source, its status moves from Requested to Delivered and its version becomes 1.
- Check the charts. The charts in Scope and in the project show what has arrived and what's still to come, and you can start reviewing straight away.
Can progress reports send themselves?
Yes. The same charts can sit in a document, so a report takes no time to build. The one in the demo is short: delivery status and file planning readiness. Akos set it to go to the team every two weeks on a Thursday, with a second rule that sends each new version to the reports folder in Autodesk Forma. He created version 2, and it appeared there, matching Plannerly.
How do approved drawings reach the contractor's Autodesk Forma?
Auto-Route puts the pieces together. Files come in, you review them, and the ones that pass your quality gate go on to the next team, in the CDE that team already uses.
- Choose your quality gate. Akos used the suitability column: a drawing at S4 is ready for the contractor.
- Connect Autodesk Forma. In CDE Connect, choose Autodesk Forma and choose to publish, then find the project and the folder. Here, that's approved drawings.
- Set the condition. Suitability is S4. Preview it and turn it on.
- Review, then change the status. Set a delivered drawing to S4 and it's published on the spot.
- Check Autodesk Forma. The approved drawings appear in the contractor's folder.
To see the same files together in Plannerly, use File views. A favorite called S4 filters to those files, and SmartFolders sort files into folders from their metadata automatically.
For Autodesk, a company can also connect through a Secure Service Account rather than one person's sign-in, then add a connection project by project.
What happens to file names when files come in?
Plannerly names each file to the project's file naming standard, whatever it was called in the architect's Dropbox. You keep both names: what they called it in their own system, and what you call it in Plannerly. Reports going out to Autodesk Forma carry the project's names as well.
How do you set up your first automation?
- Open your Plannerly project and click CDE Connect.
- Click your CDE and sign in.
- Choose Auto-Publish or Auto-Collect, preview, then turn it on.
The CDE Connect handout has all of today on one page, to share with your team.
Want new connectors early? Join the beta testing community: sign in to Plannerly (or sign up free), open Support and type "add me".
Next up is Surviving AI Model Checking, on Thursday 19 November. Every step's full walkthrough is free at plannerly.com/training.
Keep going
Do the same on your project
Connect your CDE
The job from this episode, step by step: connect your CDE, name the files you need and let delivered files fill them.
Episode 4The CDE Connect handout
All of Episode 4 on one page: the three automations and how to set up your first one.
Free PDFWhich CDEs connect today
How Plannerly works as a CDE, and the list of CDEs you can connect.
GuideRun the MIDP
Where the file requests come from: every deliverable named, agreed by the team that owns it and tracked.
Episode 1MIDP template
A free template to start your master information delivery plan from.
TemplateISO 19650 in one diagram
The whole process on one page, so you can see where the CDE sits.
Free PDFCheck models with IDS
Give every team the requirements as an IDS file, so they check their own models before they share them.
Next: Surviving AI Model Checking
Episode 5, Thu 19 Nov: checking models against your requirements.
Episode 5Questions
Questions about working across several CDEs
What is a CDE?
How do I keep several CDEs in step?
How do I send an approved document to my client's SharePoint automatically?
How can files in a designer's Dropbox fill my MIDP?
How do approved drawings get to the contractor's Autodesk Forma?
Which CDEs does CDE Connect work with?
Does a file keep its original name when Plannerly renames it?
How do I stop files looping back and forth during a two-way sync?
Can I organize file requirements by discipline or floor?
What is DOCie?
Can I try CDE Connect for free?
Where can I get the slides from Episode 4?
Put your plan in the middle
Start free, connect your CDE and let the plan keep up on its own.
Want new connectors early? Sign in, open Support and type "add me".