
Video
How to Use Tables in BIM Documents - Better ISO 19650 Information Management
About this video
Free BIM + ISO 19650 Training: https://plannerly.com/training/
When you need to manage lists of information or create simple forms inside project documents, tables can be a very effective way to structure content. In this video, see how to add and manage tables inside BIM documents to improve document management, information management, and ISO 19650 workflows.
You'll learn how to insert tables into document sections, format them, resize them, merge cells, create headers, and adjust layouts so your content is easier to organize and maintain.
In this video, you'll learn:
- How to insert tables into document sections
- How to use quick insert and advanced table options
- How to choose the number of rows and columns
- How to format table cells and apply styles
- How to insert or delete rows and columns
- How to merge cells and adjust alignment
- How to create column headers and resize columns
- How to switch page layout when table content is wider than the page
- How to copy and reuse tables efficiently
- How tables work even better when combined with smart fields
This is a practical workflow for teams that need a more structured way to manage tabular information, forms, responsibilities, requirements, or repetitive project data inside BIM documents.
This video is ideal for:
- BIM Managers
- Information Managers
- Project Managers
- Design teams
- Construction teams
- Anyone working with ISO 19650 and structured project documentation
If you want a more organized way to manage forms, lists, and structured project content, this video shows how tables can make your documents much more useful.
Free BIM + ISO 19650 Training: https://plannerly.com/training/
BIM Boot Camp: https://plannerly.com/bim-boot-camp/
Featured in
Where this video is used
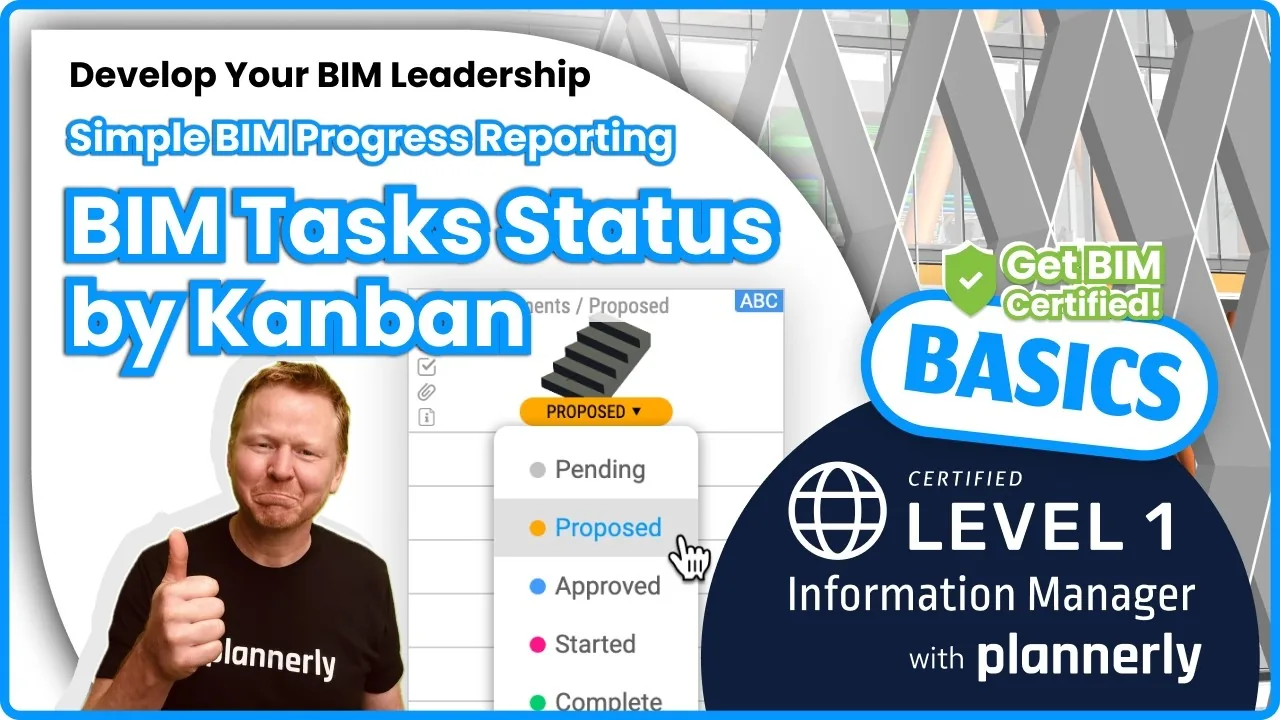 Video · 1:30
How to Track BIM Task Status Across Grid, Timeline and Kanban - ISO 19650 Scope Management
Free BIM + ISO 19650 Training: https://plannerly.com/training/
 Video · 2:45
How to Get Your BIM and Information Management Certificate - Add It to LinkedIn
Free BIM + ISO 19650 Training: https://plannerly.com/training/
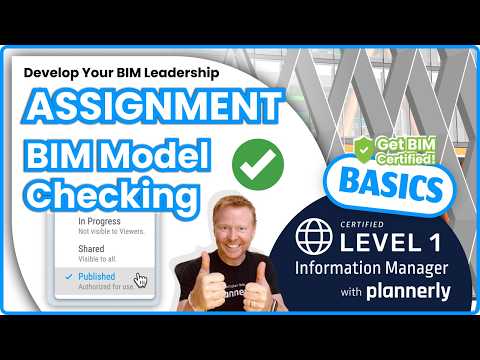 Video · 3:16
Verify Module Assignment - Check BIM Model Properties Against Scope Requirements
Free BIM + ISO 19650 Training: https://plannerly.com/training/
 Video · 1:25
How to Connect Autodesk Construction Cloud Models to Verify - BIM Model Sync and Checking
Free BIM + ISO 19650 Training: https://plannerly.com/training/
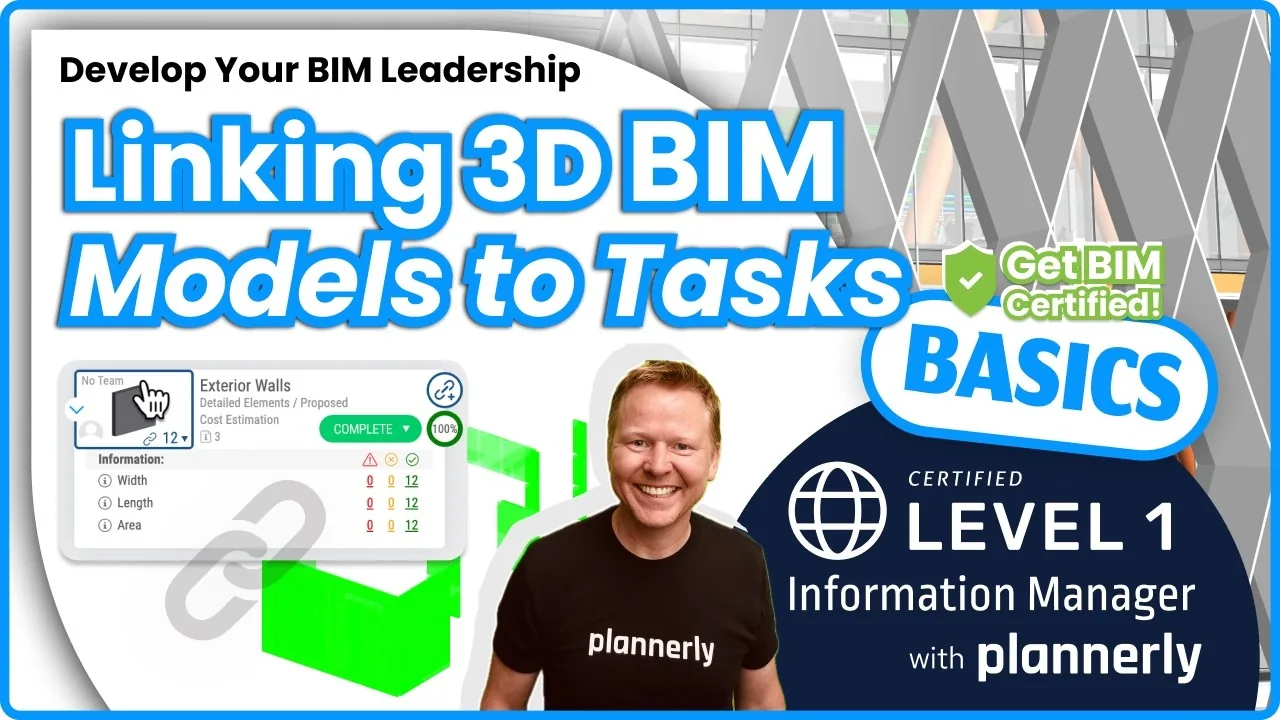 Video · 3:54
How to Use QA Model Checking in Verify - BIM Quality Control for ISO 19650 Workflows
Free BIM + ISO 19650 Training: https://plannerly.com/training/
 Video · 6:21
How to Upload, View and Review BIM Models in 3D - ISO 19650 Verify Module Guide
Free BIM + ISO 19650 Training: https://plannerly.com/training/