Lesson 7 of 40
Start a document from the Library in one click
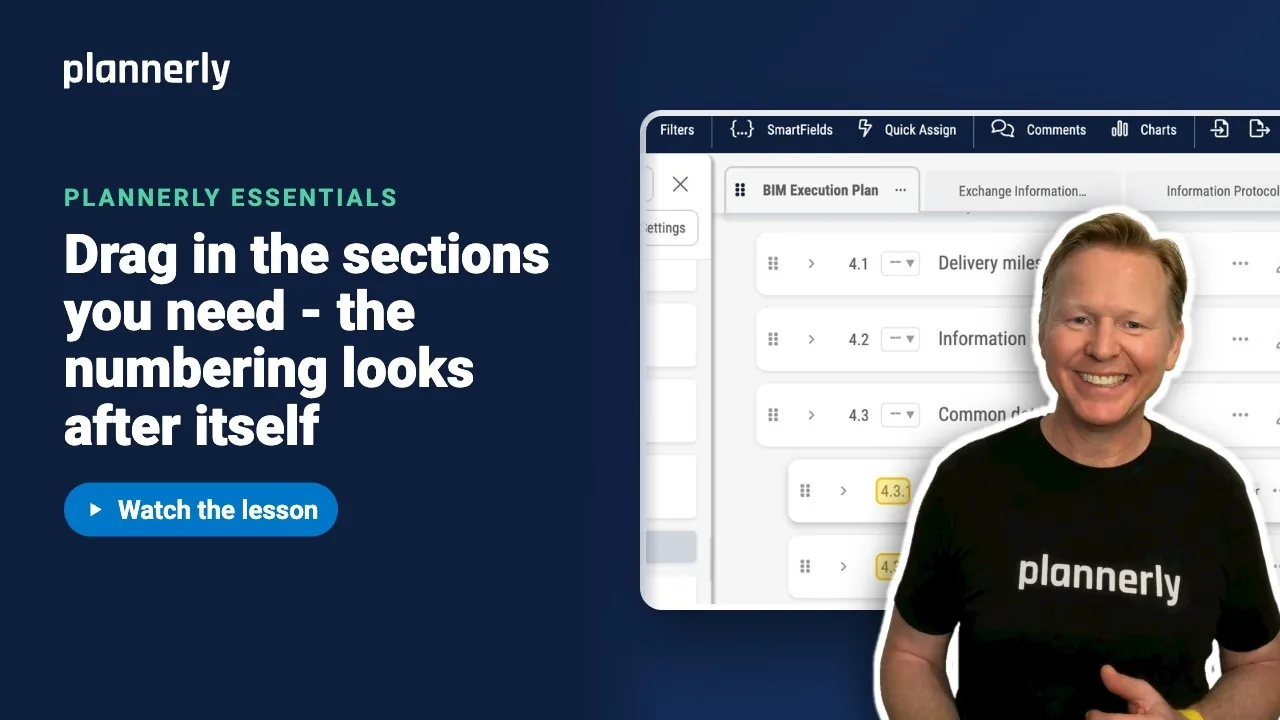
This video shows how to start a BIM Execution Plan (BEP) from your agreed standard in one click, so you never inherit the last job's client name again.
What you'll do
- In Docs, select + (Add Document), then Add From Library.
- Choose the source: your company's templates, or Plannerly's own.
- Hover the document you want and see the Add button.
- Use the arrow beside Add to untick sections you do not need. The button then reads Add (N).
- Select Add. The document arrives numbered and ready to fill in.
Why it matters
A BEP copied from the last project carries its mistakes with it. Starting from one agreed standard keeps every project consistent and saves you hunting for old details.
Common questions
How do I write a BIM execution plan in Plannerly?
Add a BEP from the Library, then edit each section, use SmartFields for project details, give each section an owner, share it for review and publish it.
Why can't I see the Add button?
It only appears while you hover the document, and it needs the Manage BEPs permission. Ask a project manager if it is missing.
Discussion
0 comments
Sign in to start the conversation about this lesson.
Sign in