Lesson 30 of 40
Tell Plannerly which elements belong to each task
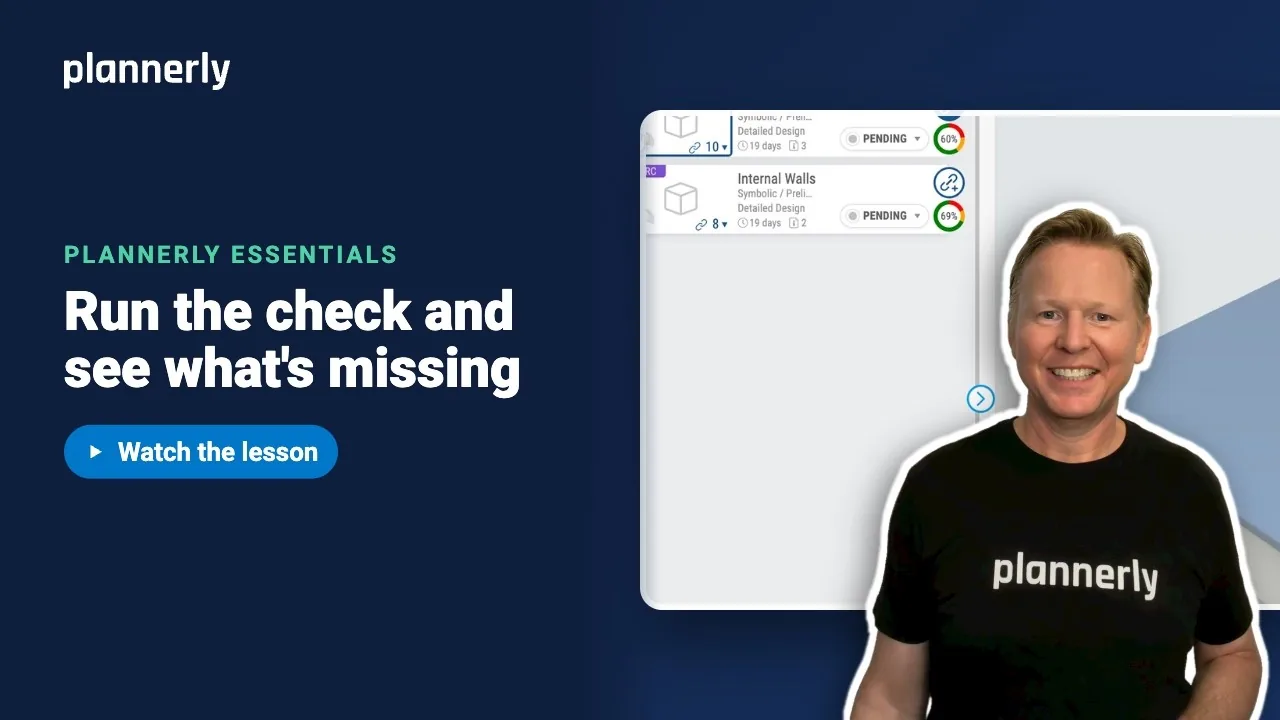
This video shows how to tell Plannerly which model elements belong to each task, which is the step that makes checking possible.
What you'll do
- Open the Work Package editor and select Add mapping rule: task Name equals model Type Name.
- Select Test rules to see what matched and what did not.
- Select Save.
- For anything the rule misses, select the elements in the model and choose Map selected on the task.
- Check each card's count, and click it to see the elements light up.
Why it matters
Plannerly cannot check the external walls until it knows which bits of the model are external walls. One rule does that for every task that matches.
Common questions
How do I link tasks to model elements?
Add a mapping rule such as Name equals Type Name, test it, save it, then map any leftovers by hand with Map selected.
Why are my tasks unmapped?
The task name and the model property do not match exactly. Test rules shows which tasks were left out.
Discussion
0 comments
Sign in to start the conversation about this lesson.
Sign in